Getting Started with Ollama
This guide takes you from zero to a working Ollama account, a signed-in local app/proxy, and (if you choose that path) an API key, so you can run yoker against Ollama’s free tier.
Note: Screenshots below show the Ollama account-creation and sign-in flow. Your actual screens may differ slightly as Ollama updates its UI.
yoker connects to Ollama as its model provider. Ollama offers a free tier you can use to explore yoker and agentic workflows at no cost. You can connect in two ways:
The Ollama app running locally (recommended — no API key needed), or
An Ollama API key (use the cloud-hosted models without running the app).
You only need one of the two paths. Pick whichever fits; the yoker bootstrap wizard asks you which one you want.
Create an Ollama account
If you don’t yet have an Ollama account, create one now. The account lets you sign in to the local app/proxy so cloud models work, and lets you generate an API key if you choose that path.
Open https://signin.ollama.com/sign-up in your browser.
Click Sign up (top right).
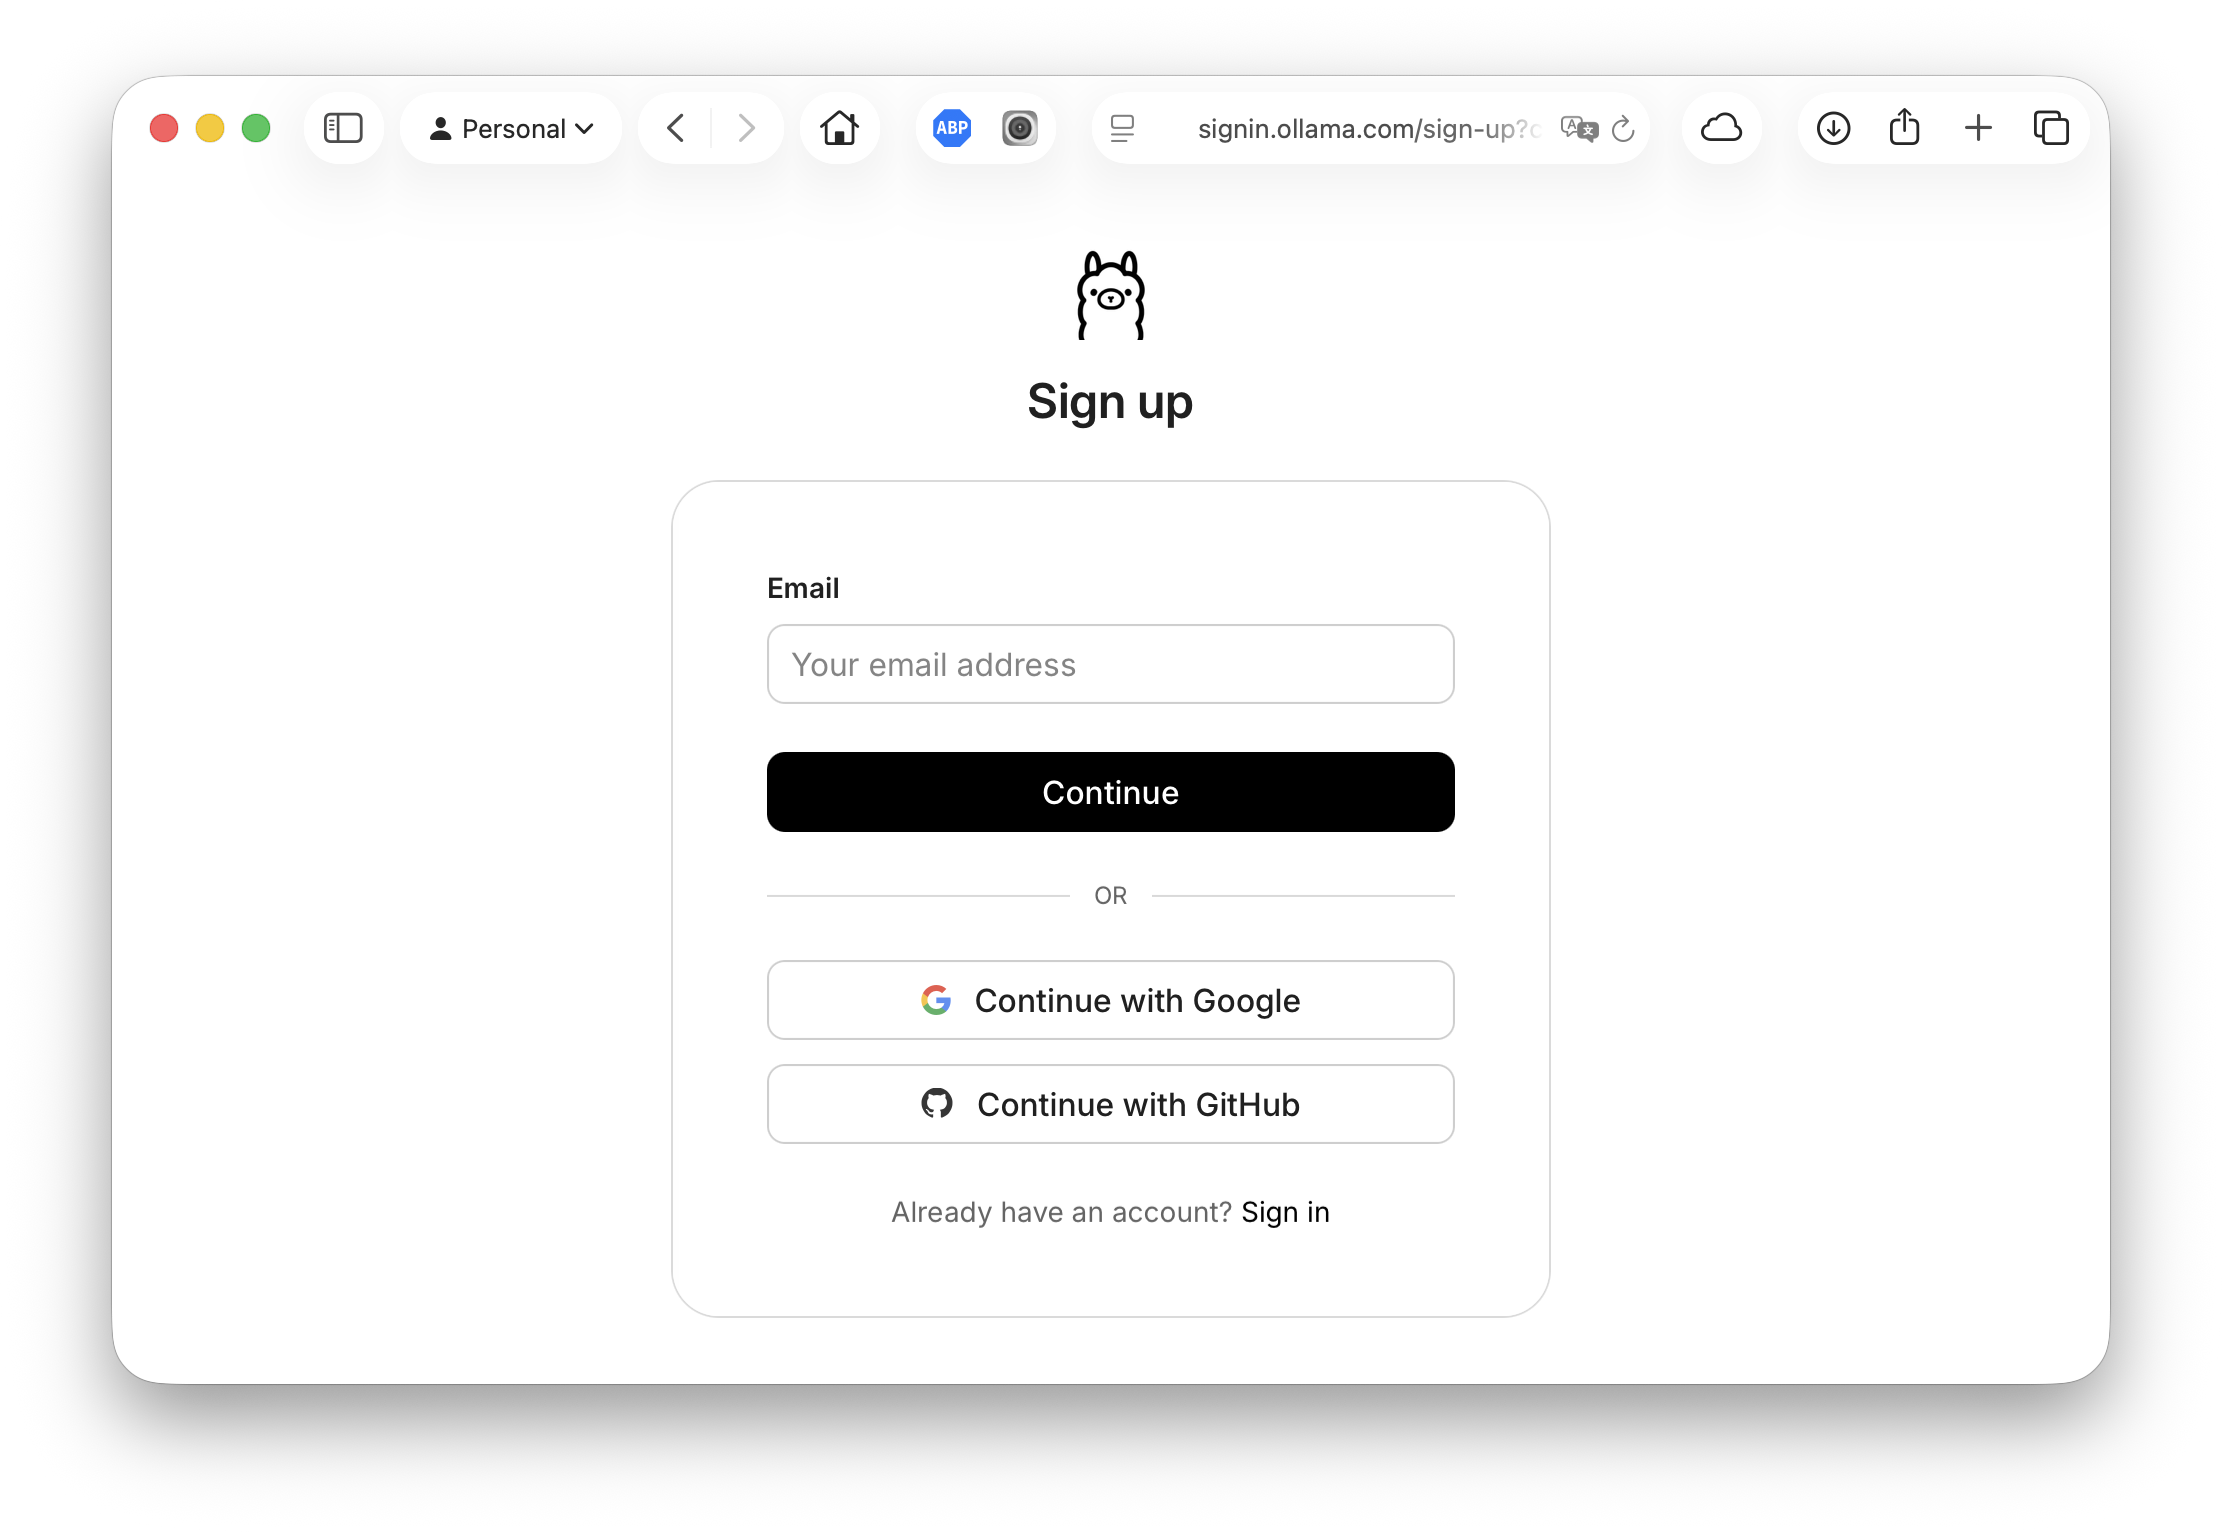
Enter your email address and choose a password, or sign up with a third-party provider.
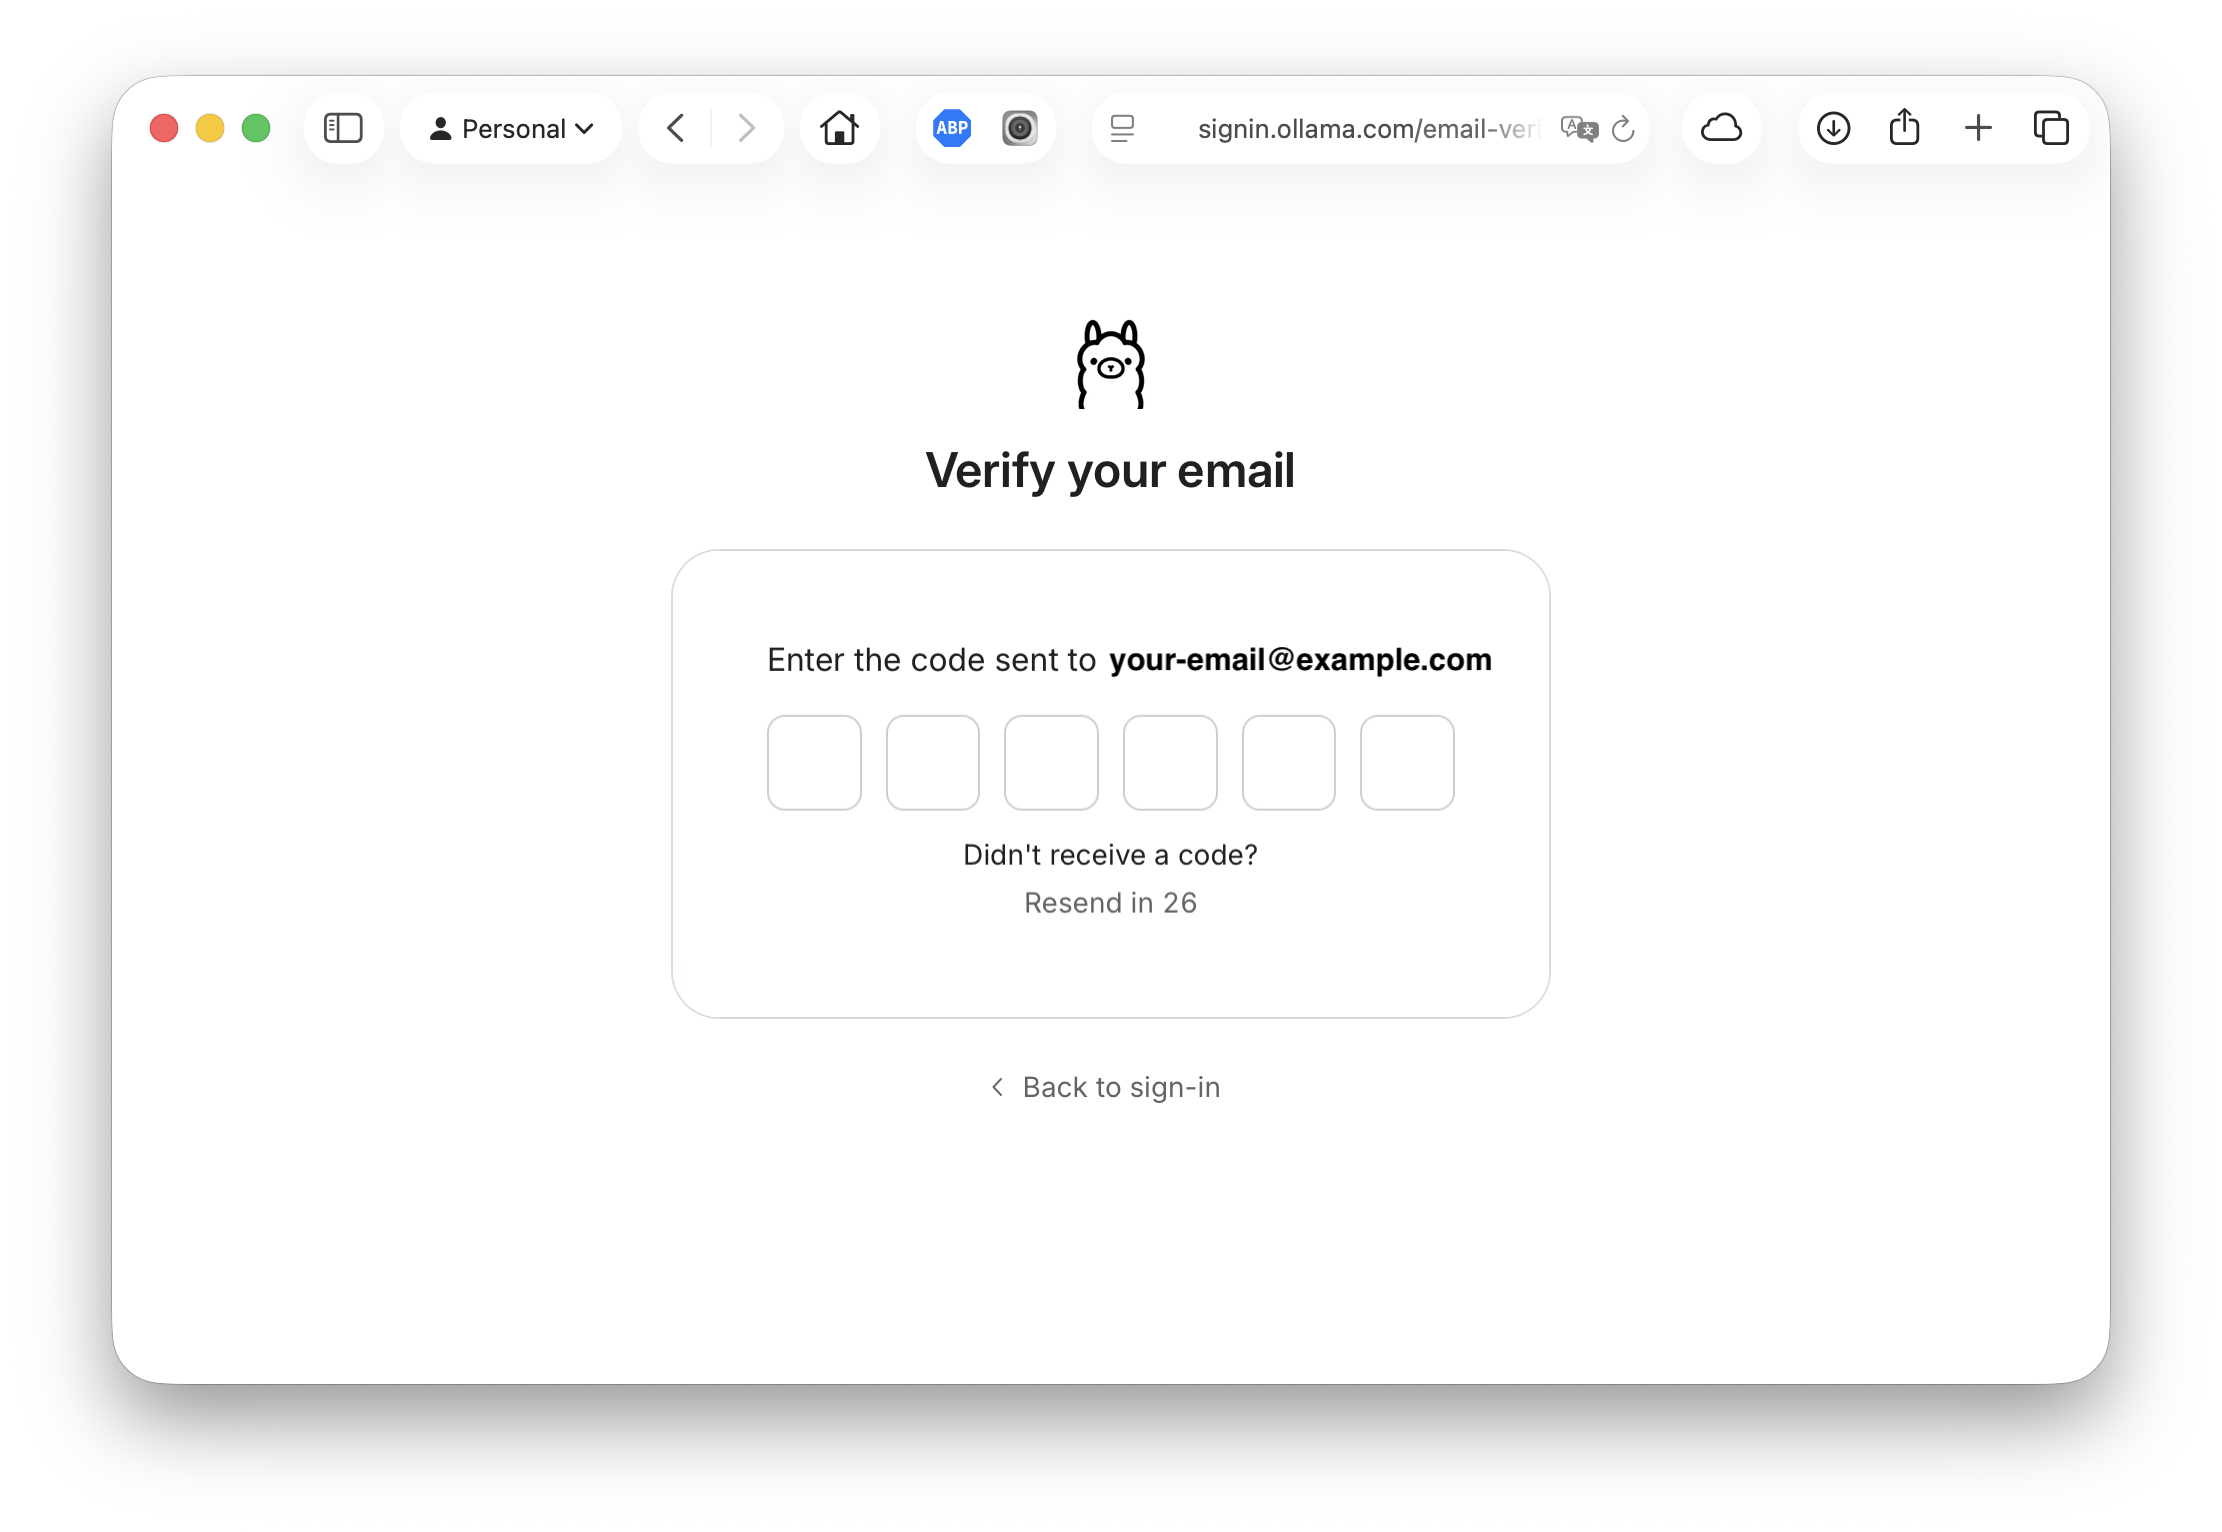
Confirm your email via the verification link sent to your inbox.
Provide your phone number for verification and enter the code sent to your phone.
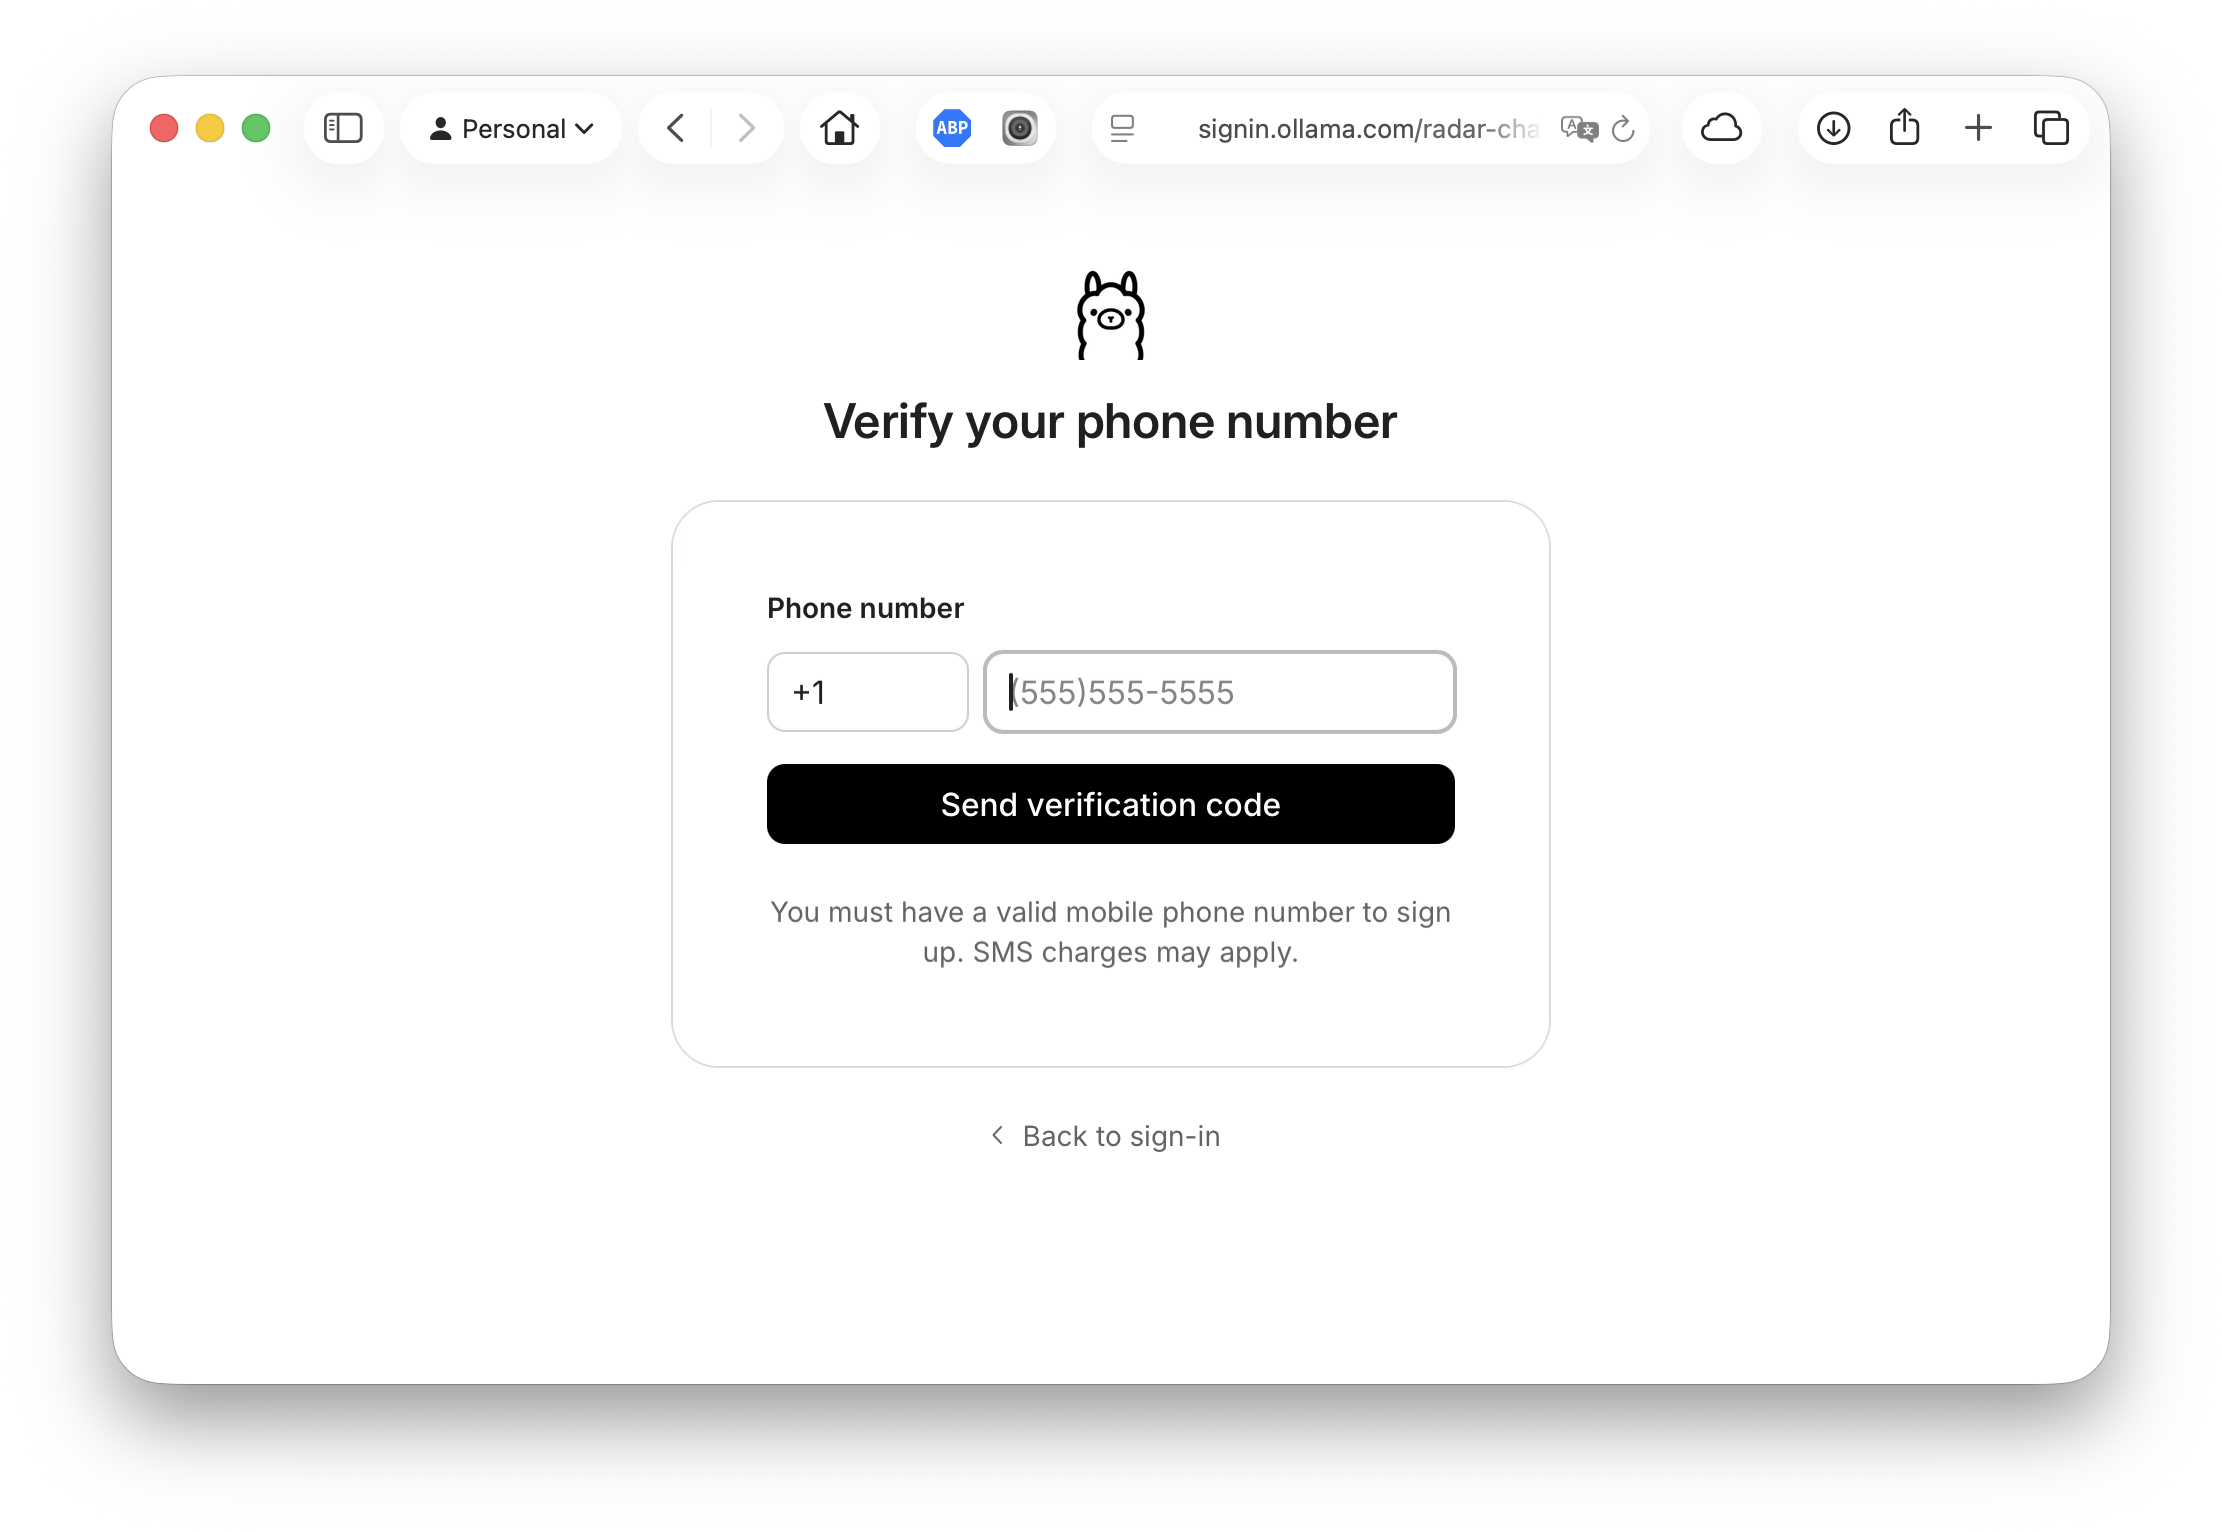
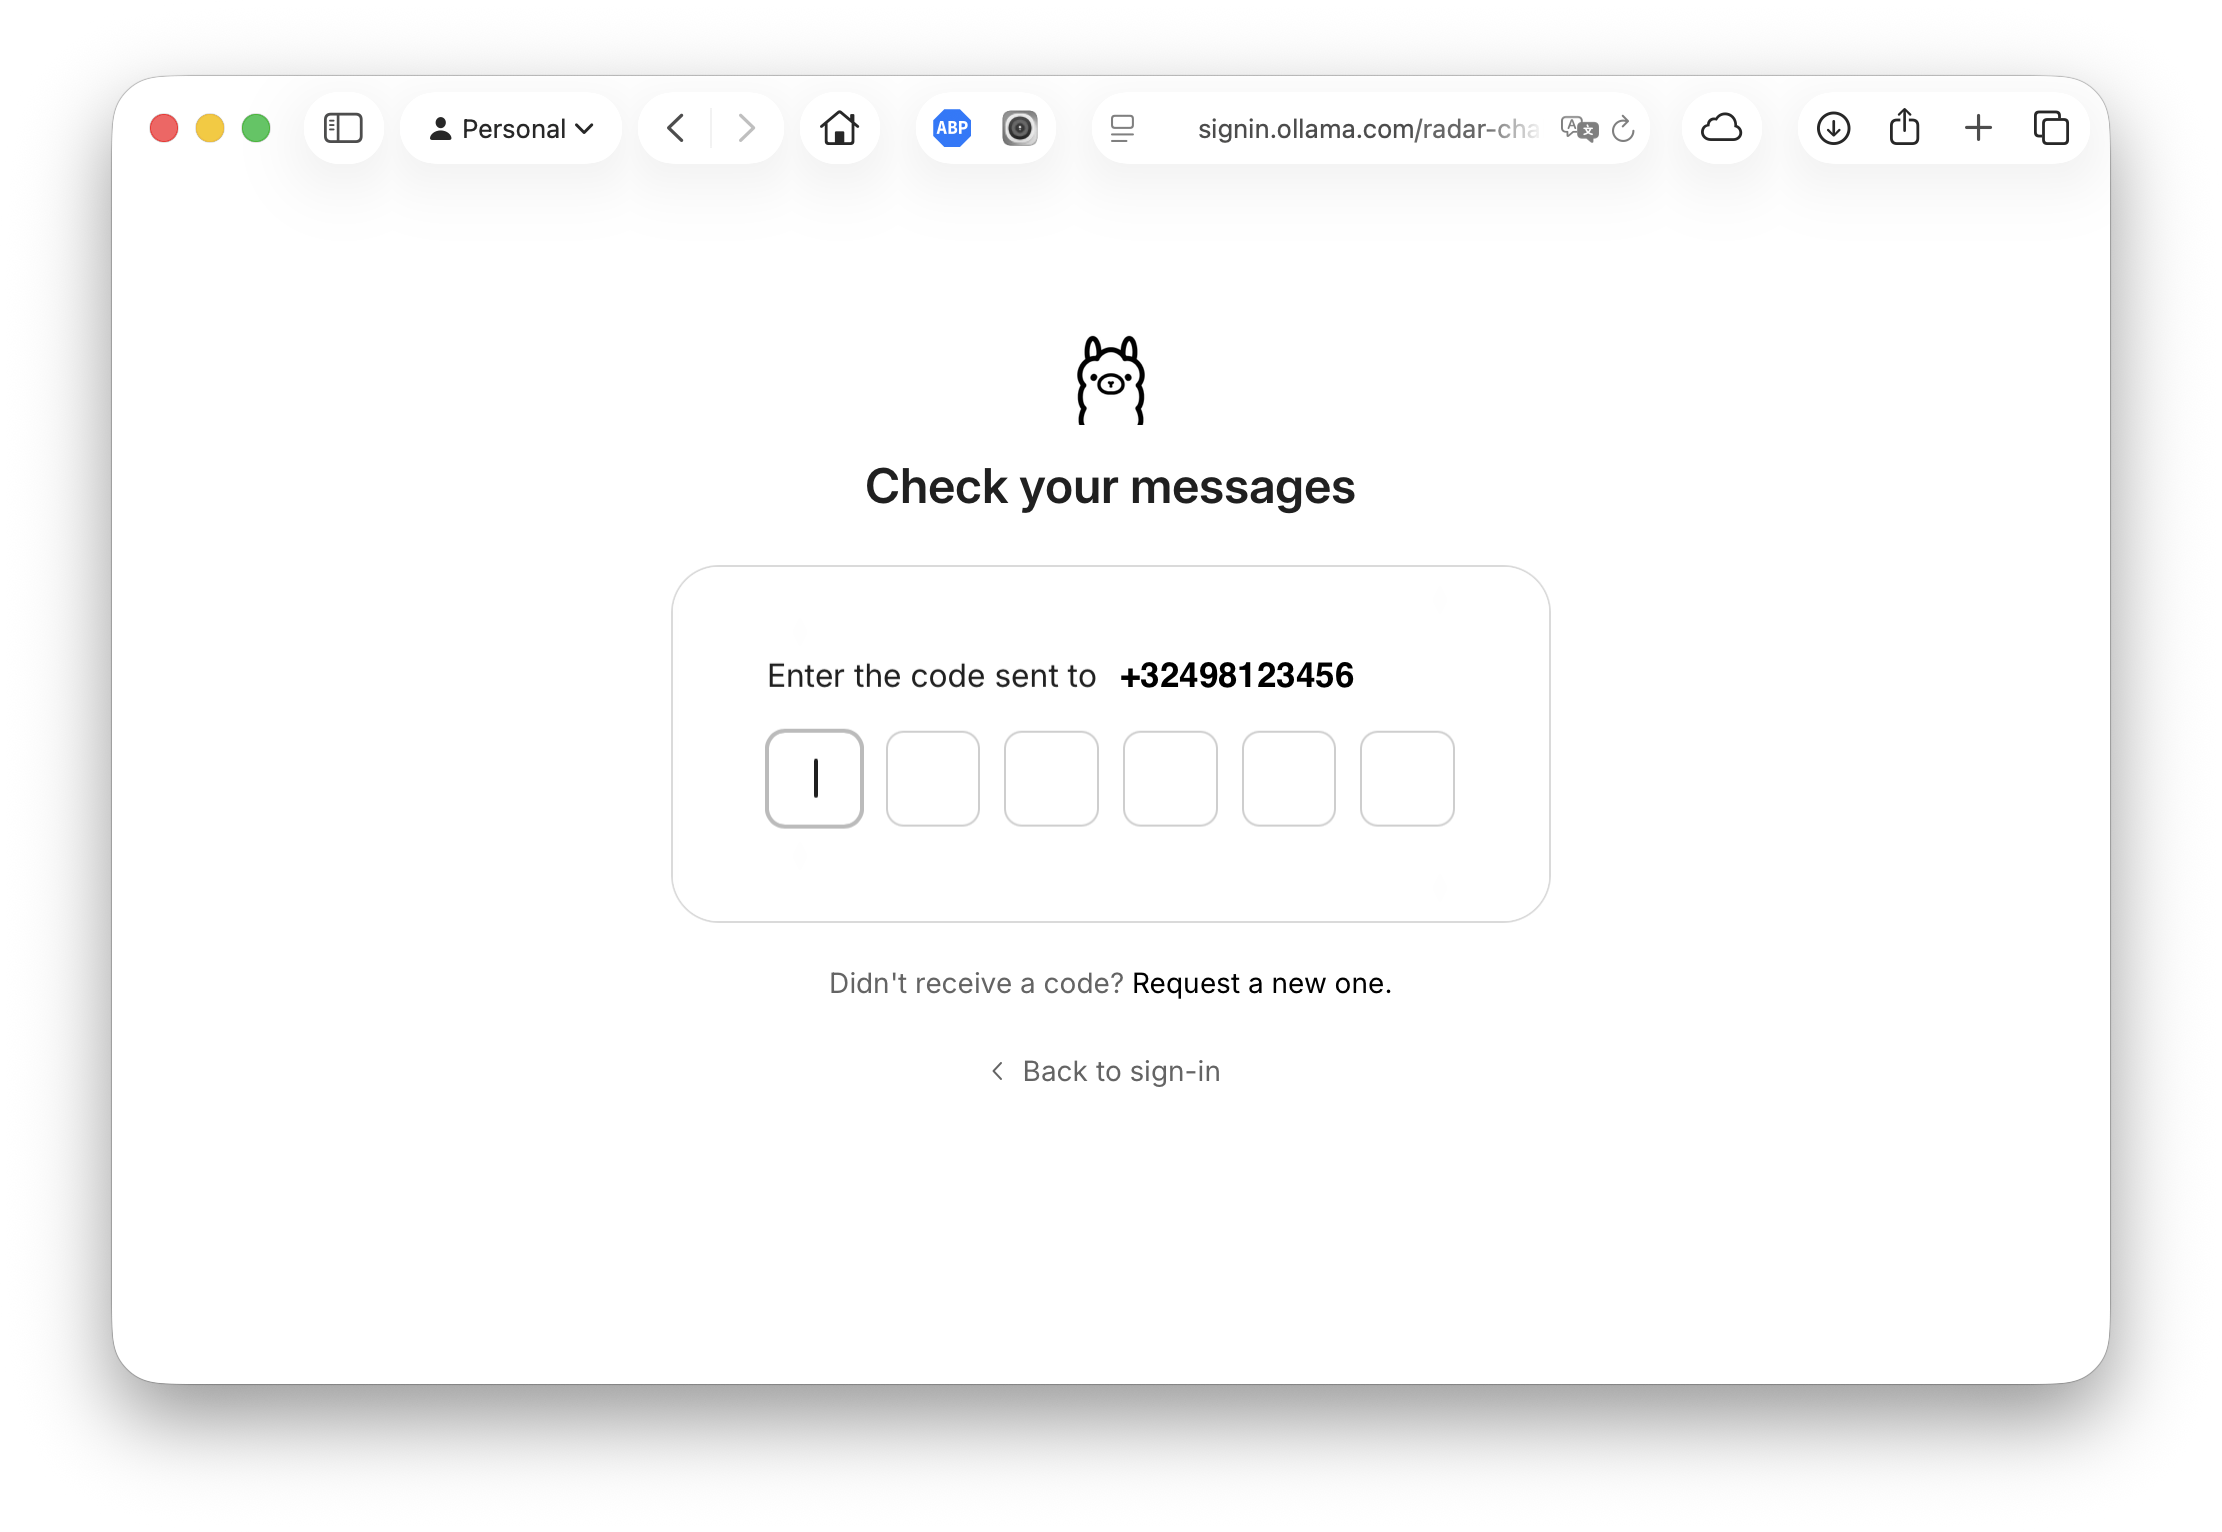
Once signed in, you’ll land on your account dashboard where you can access settings and view your usage information.
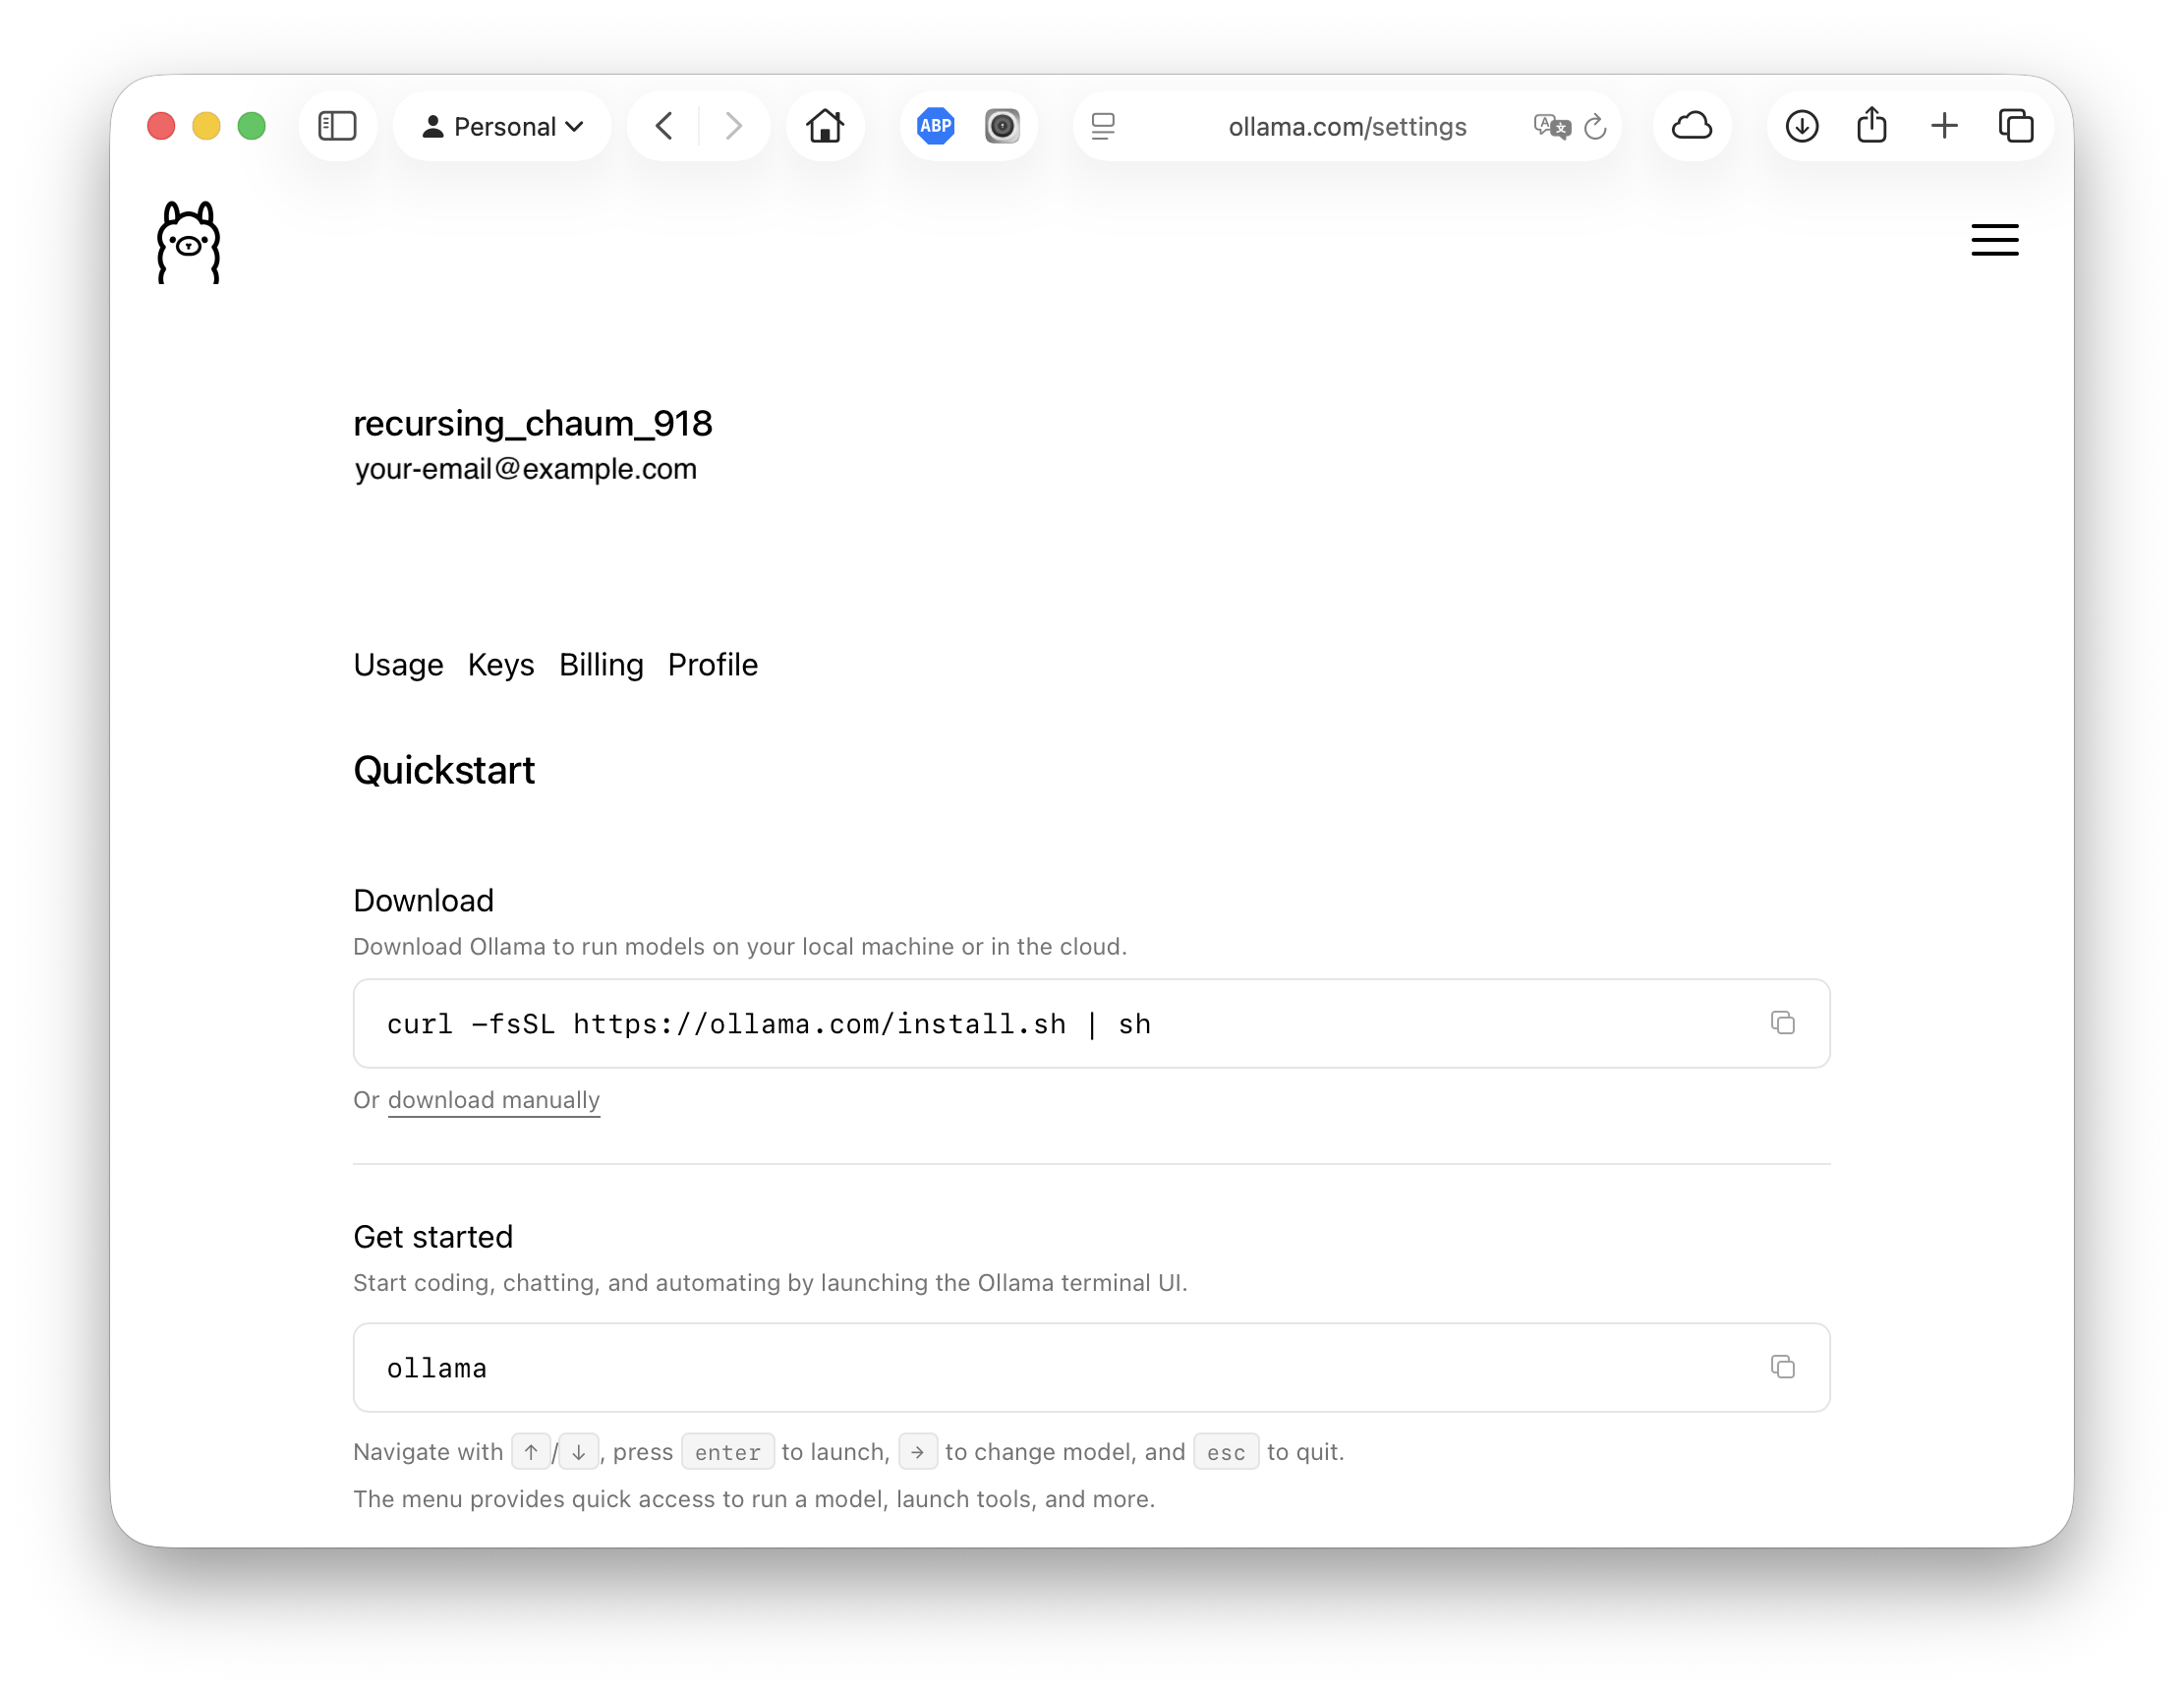
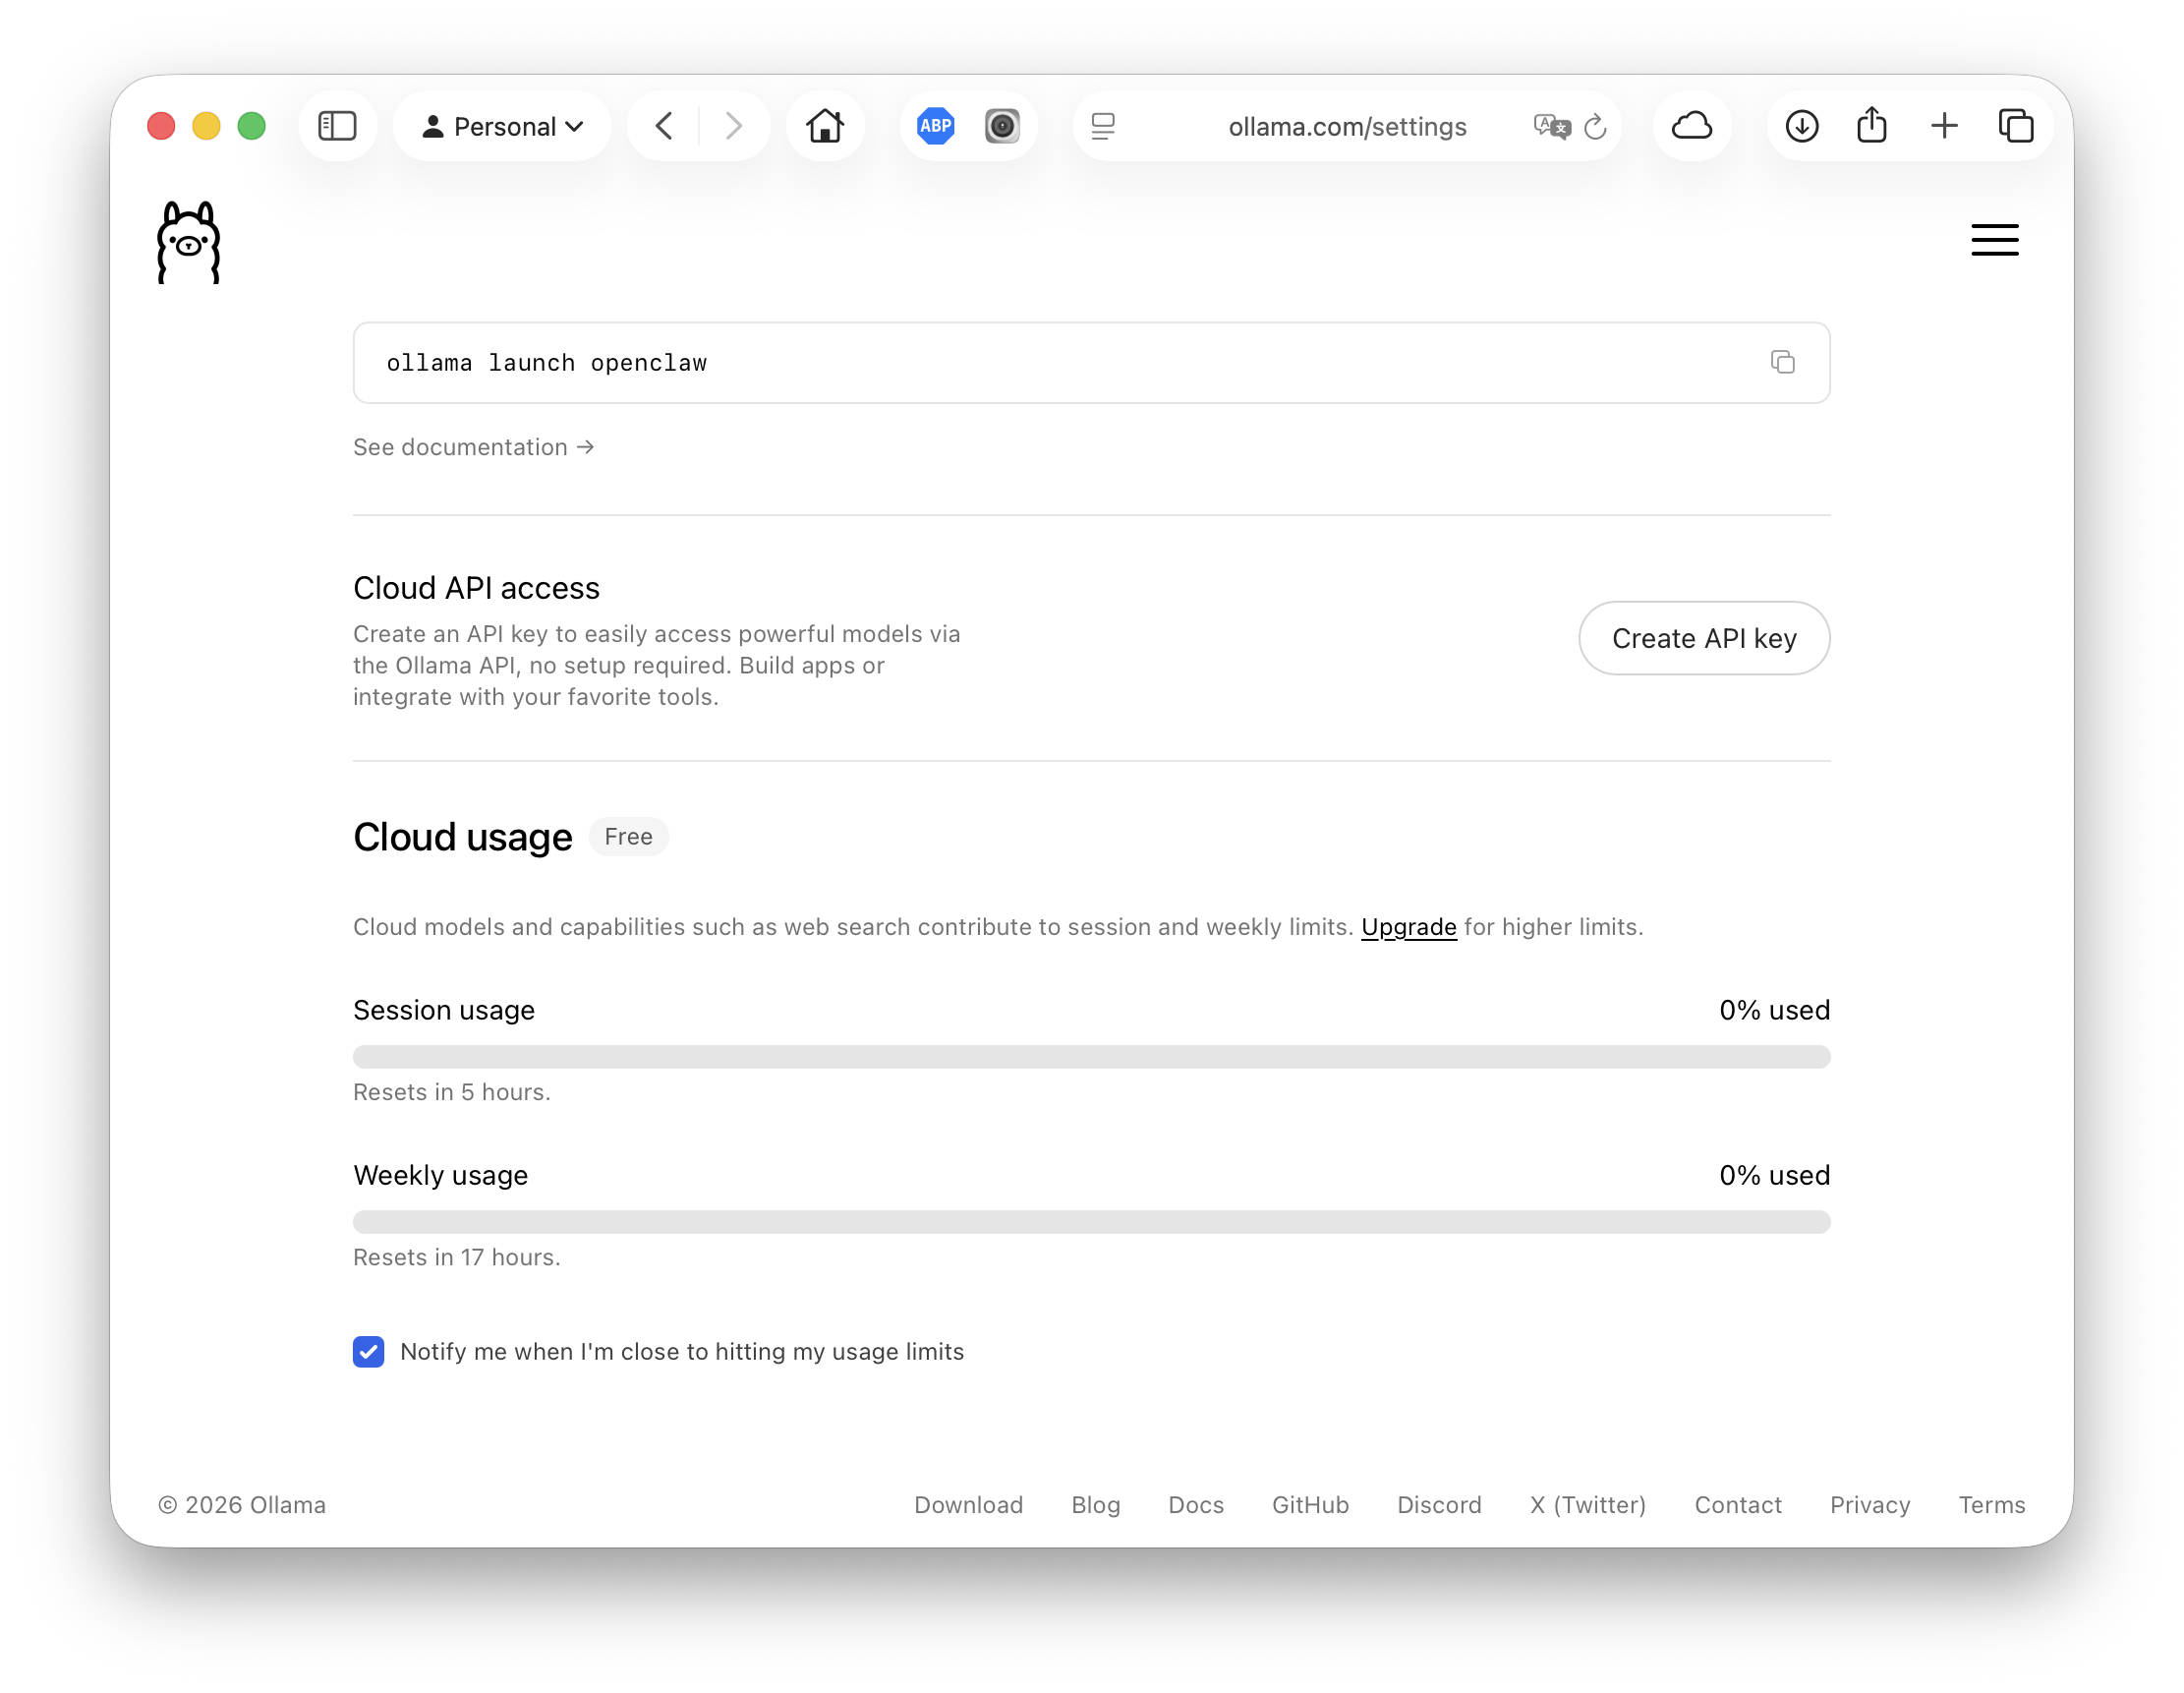
You now have an Ollama account. The next step is to install the local app/proxy so cloud models work on your machine.
Install the Ollama app/proxy
The Ollama app is a small local service that runs and proxies models. Signing in to the app with your account is what unlocks cloud models from yoker’s free tier, so install it even if you later connect via an API key.
Choose your operating system:
macOS
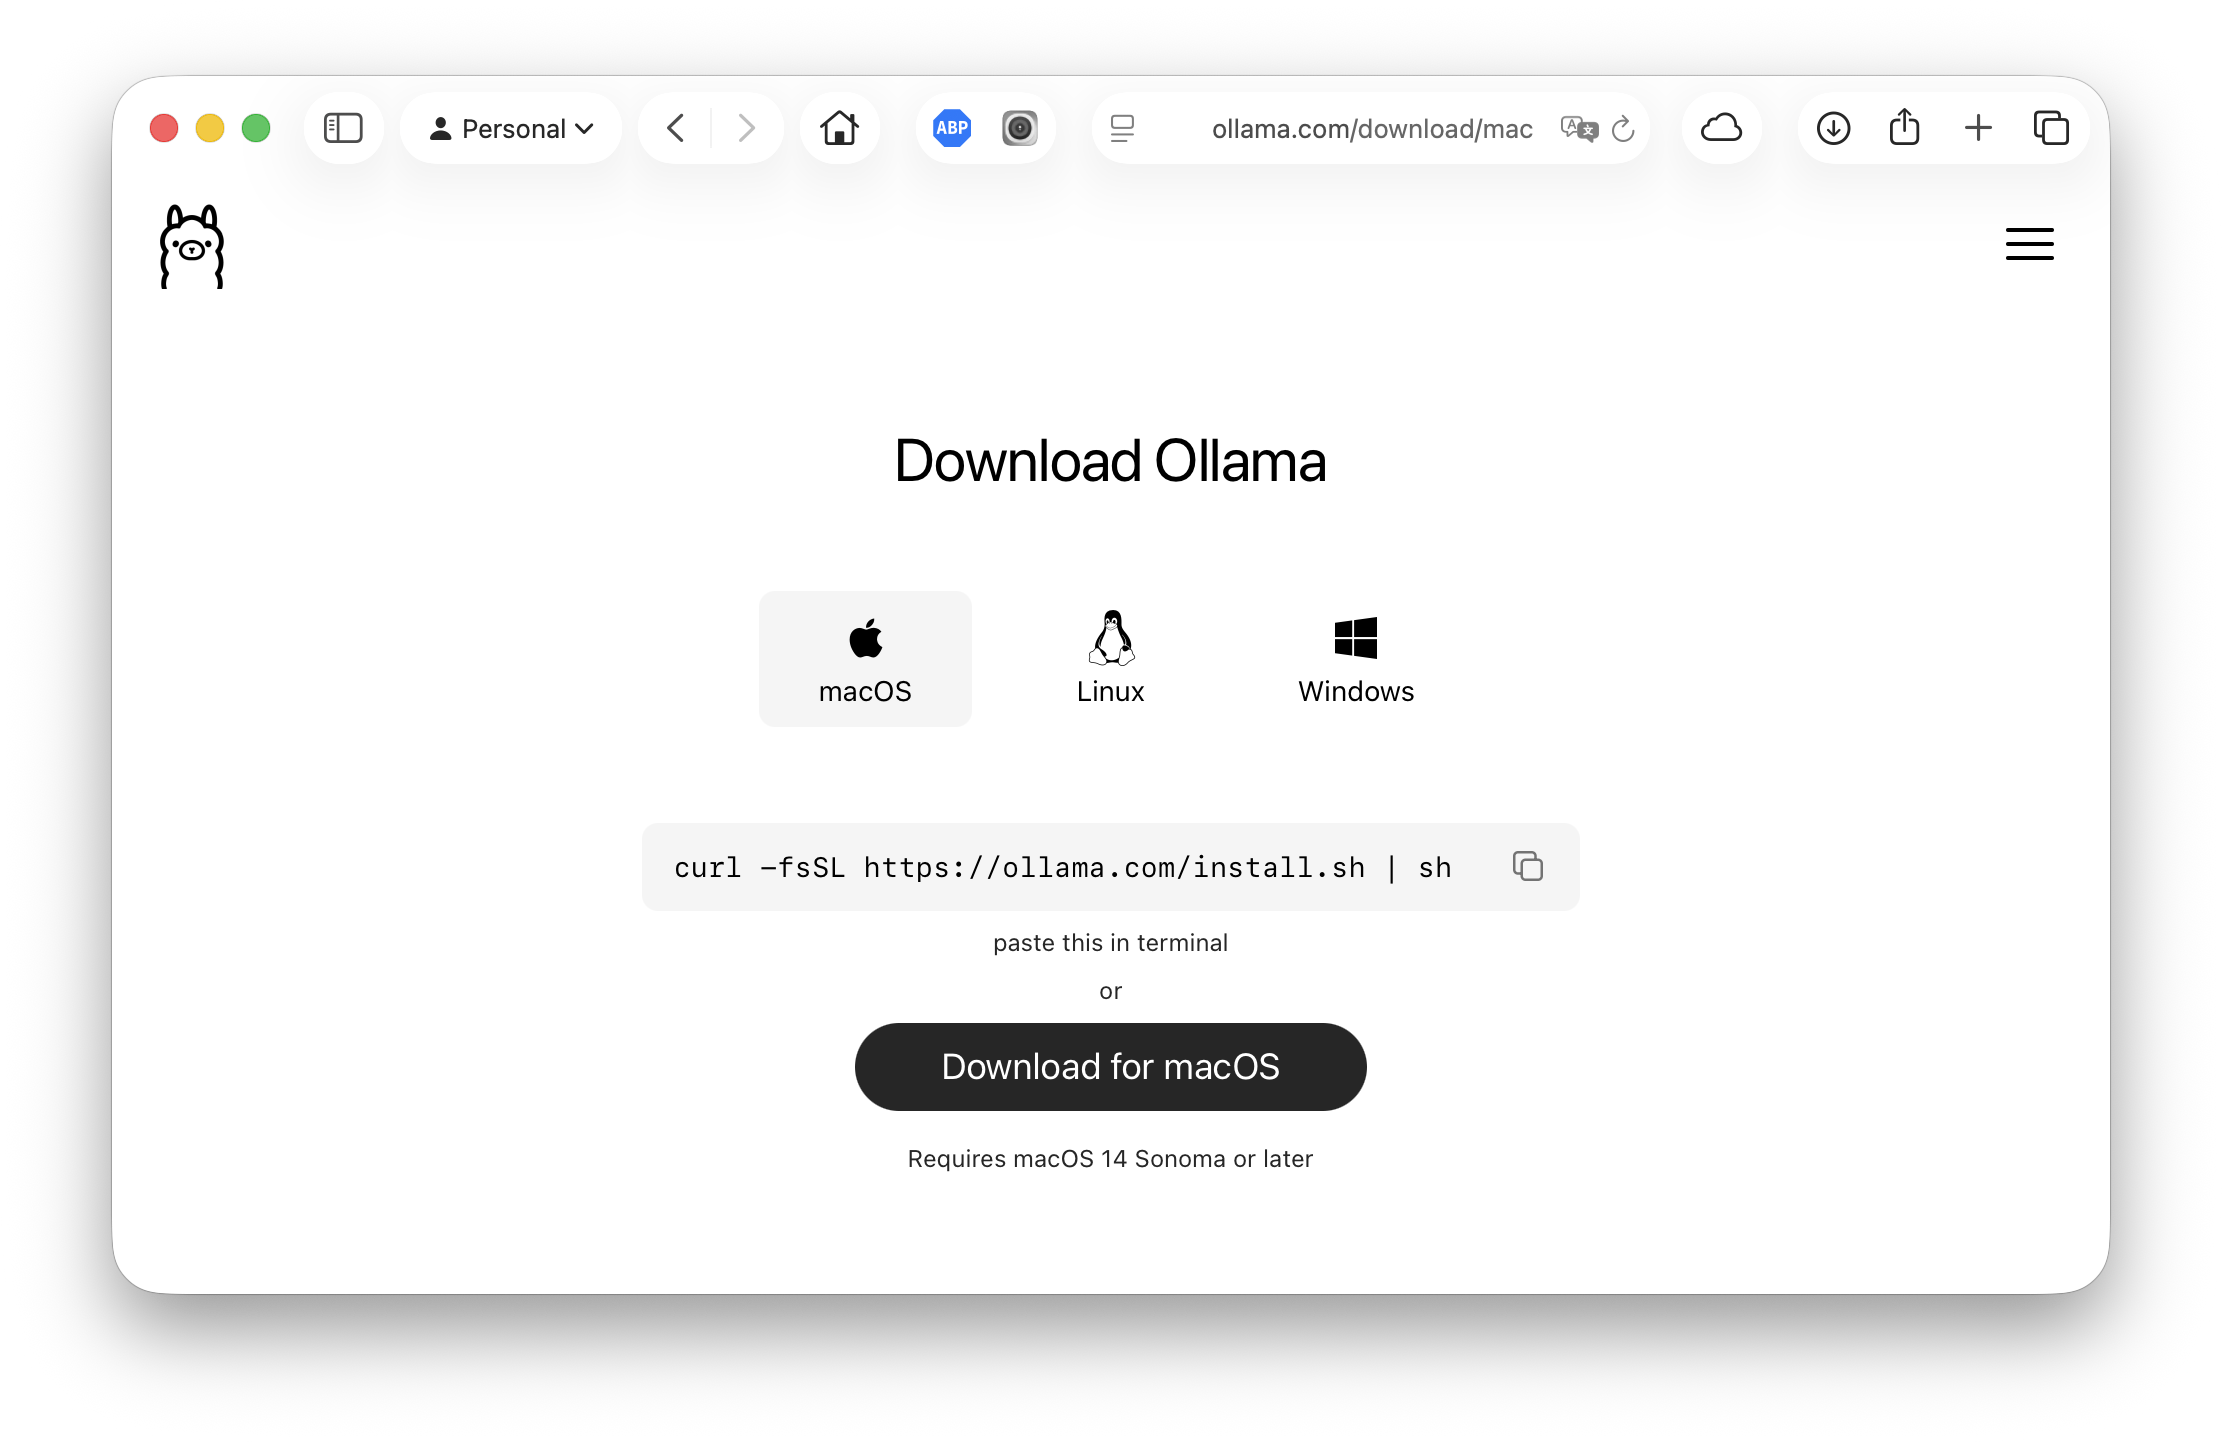
Download the macOS build from https://ollama.com/download/mac.
Unzip and drag Ollama.app to your Applications folder.
Launch Ollama.app. A menu-bar icon appears.
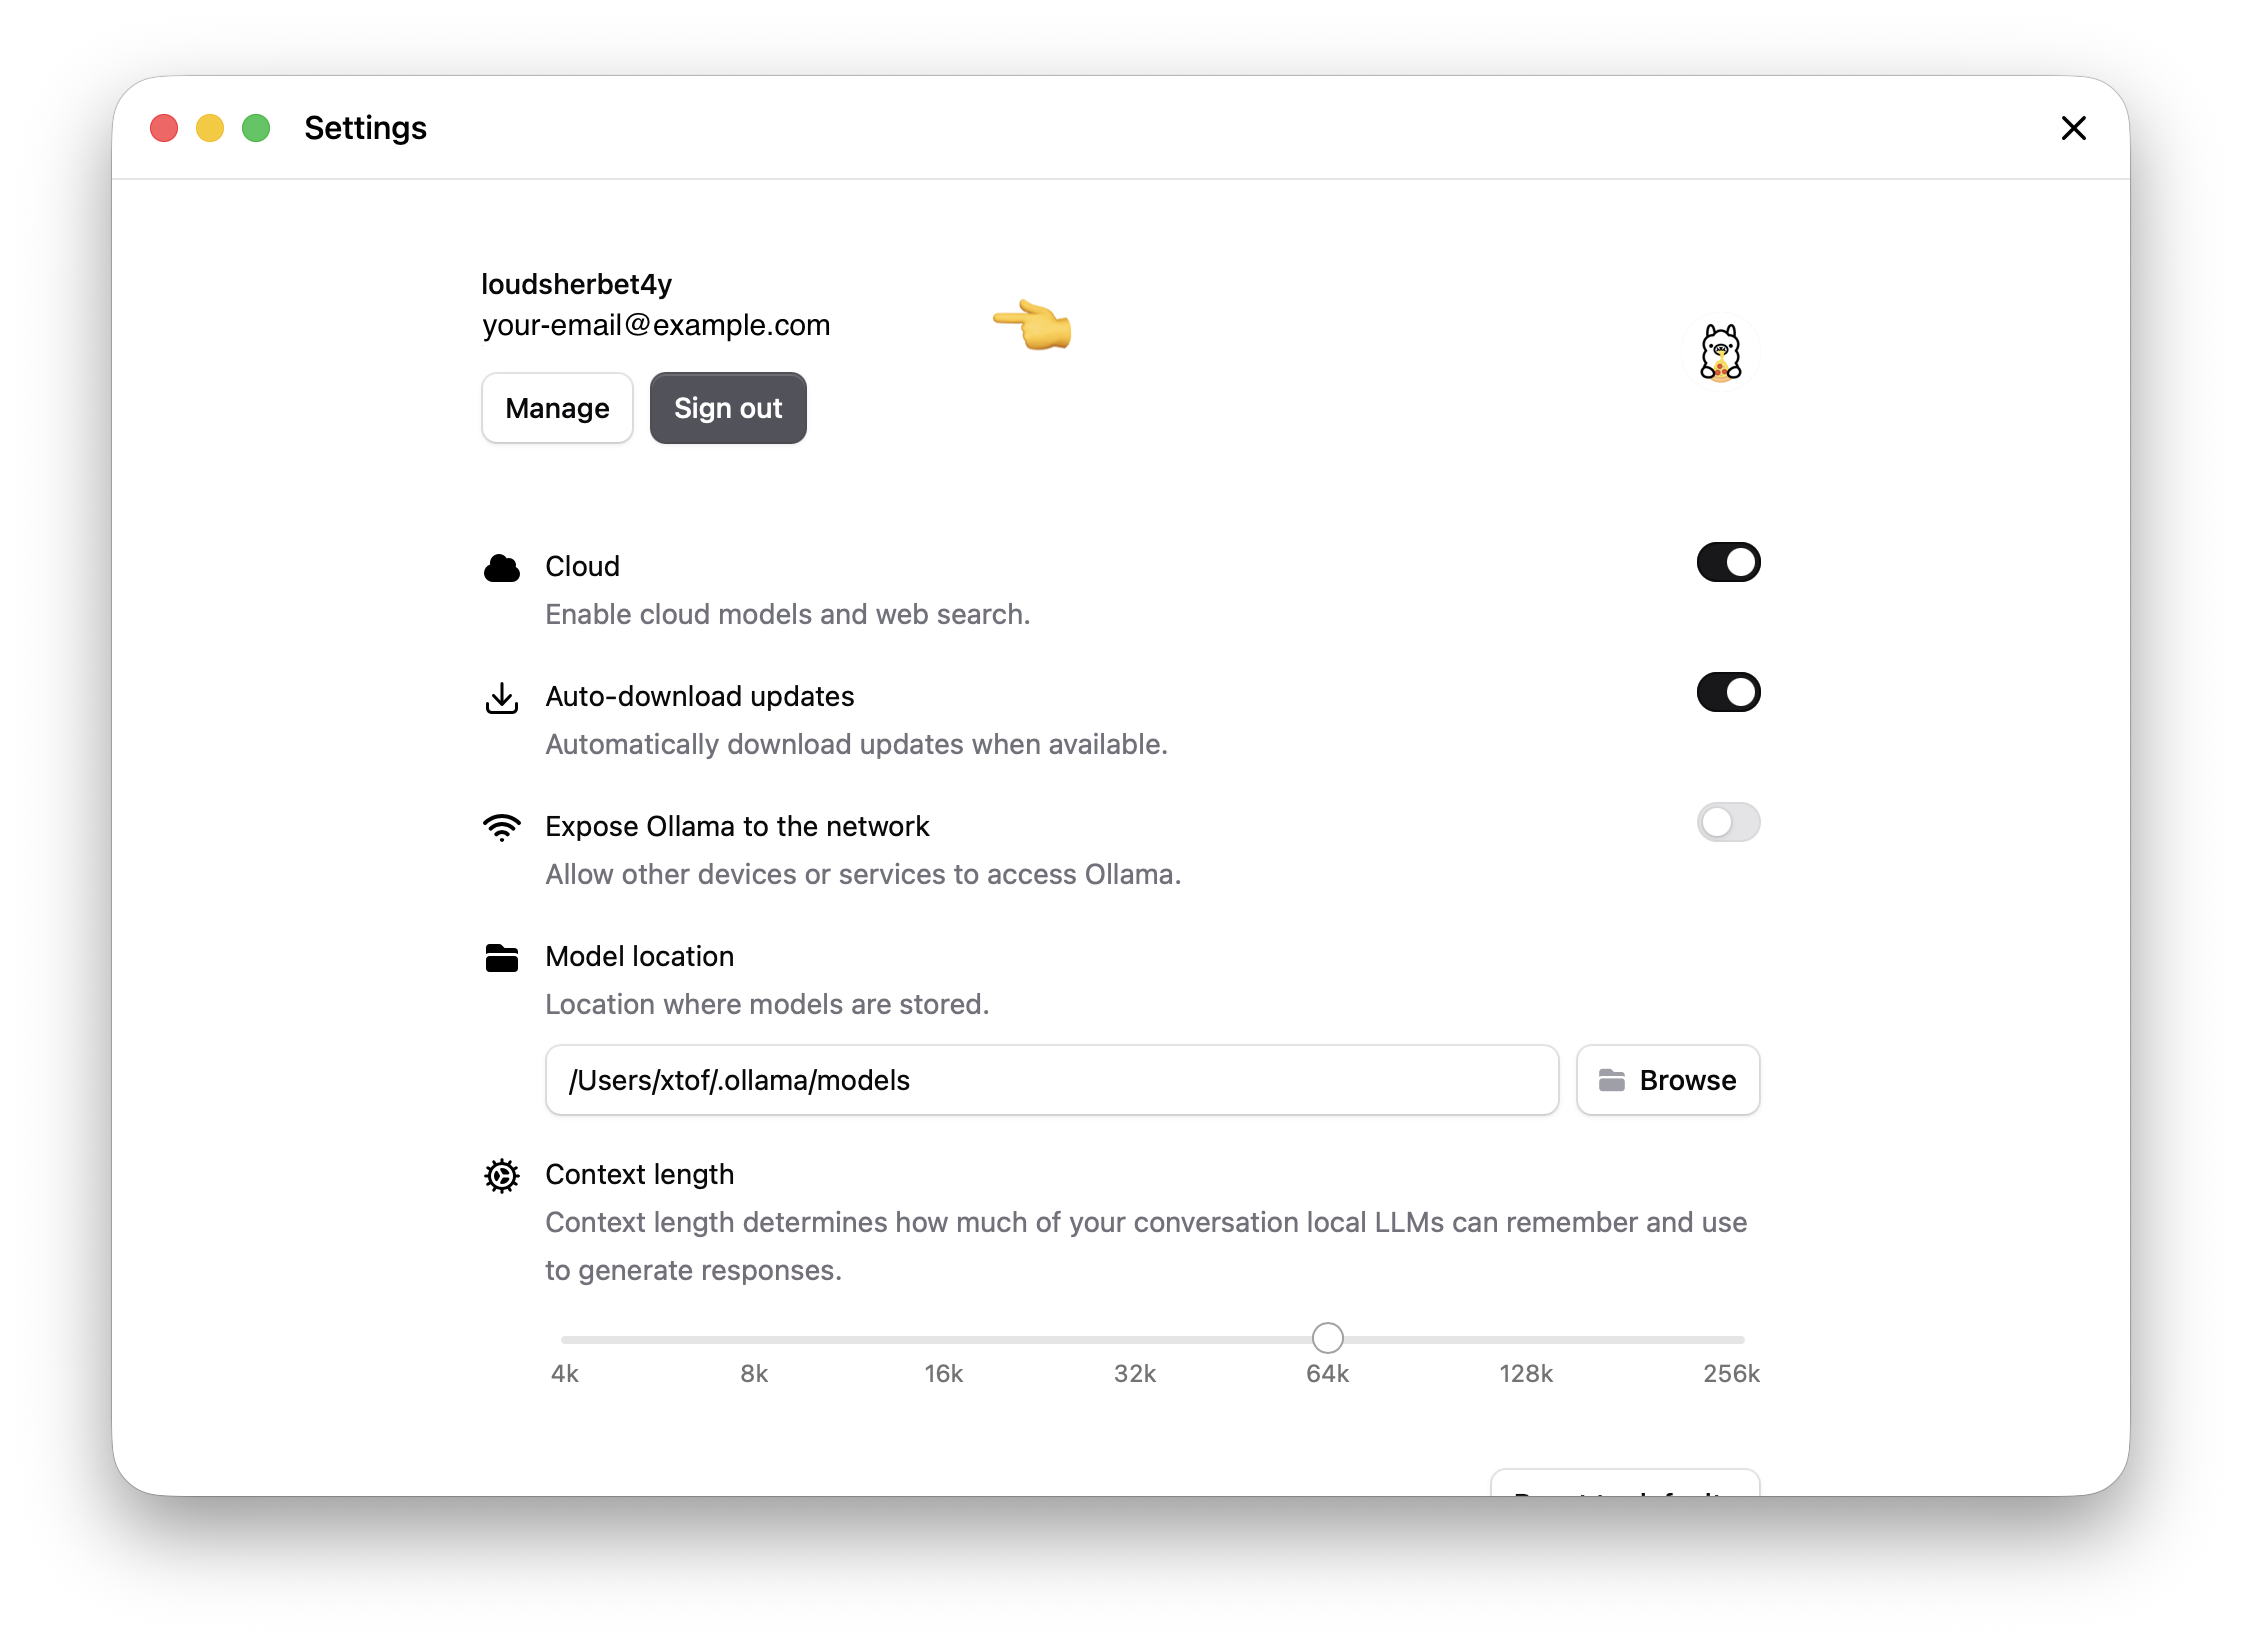
Sign in with the Ollama account you created above (see Verify cloud-model access below).
Alternatively, with Homebrew:
brew install ollama
Ollama operates as a client-server architecture. You can manage the background service easily using Homebrew services:
Start the server automatically in the background:
brew services start ollama
Stop the background service:
brew services stop ollama
Alternatively, if you only want to run the server on-demand for a single session without it running in the background, simply run
ollama serve
Linux
Run the install script:
curl -fsSL https://ollama.com/install.sh | sh
Start the service (the installer usually registers and starts it for you):
sudo systemctl start ollama
Sign in with the Ollama account you created above (see Verify cloud-model access below).
Windows
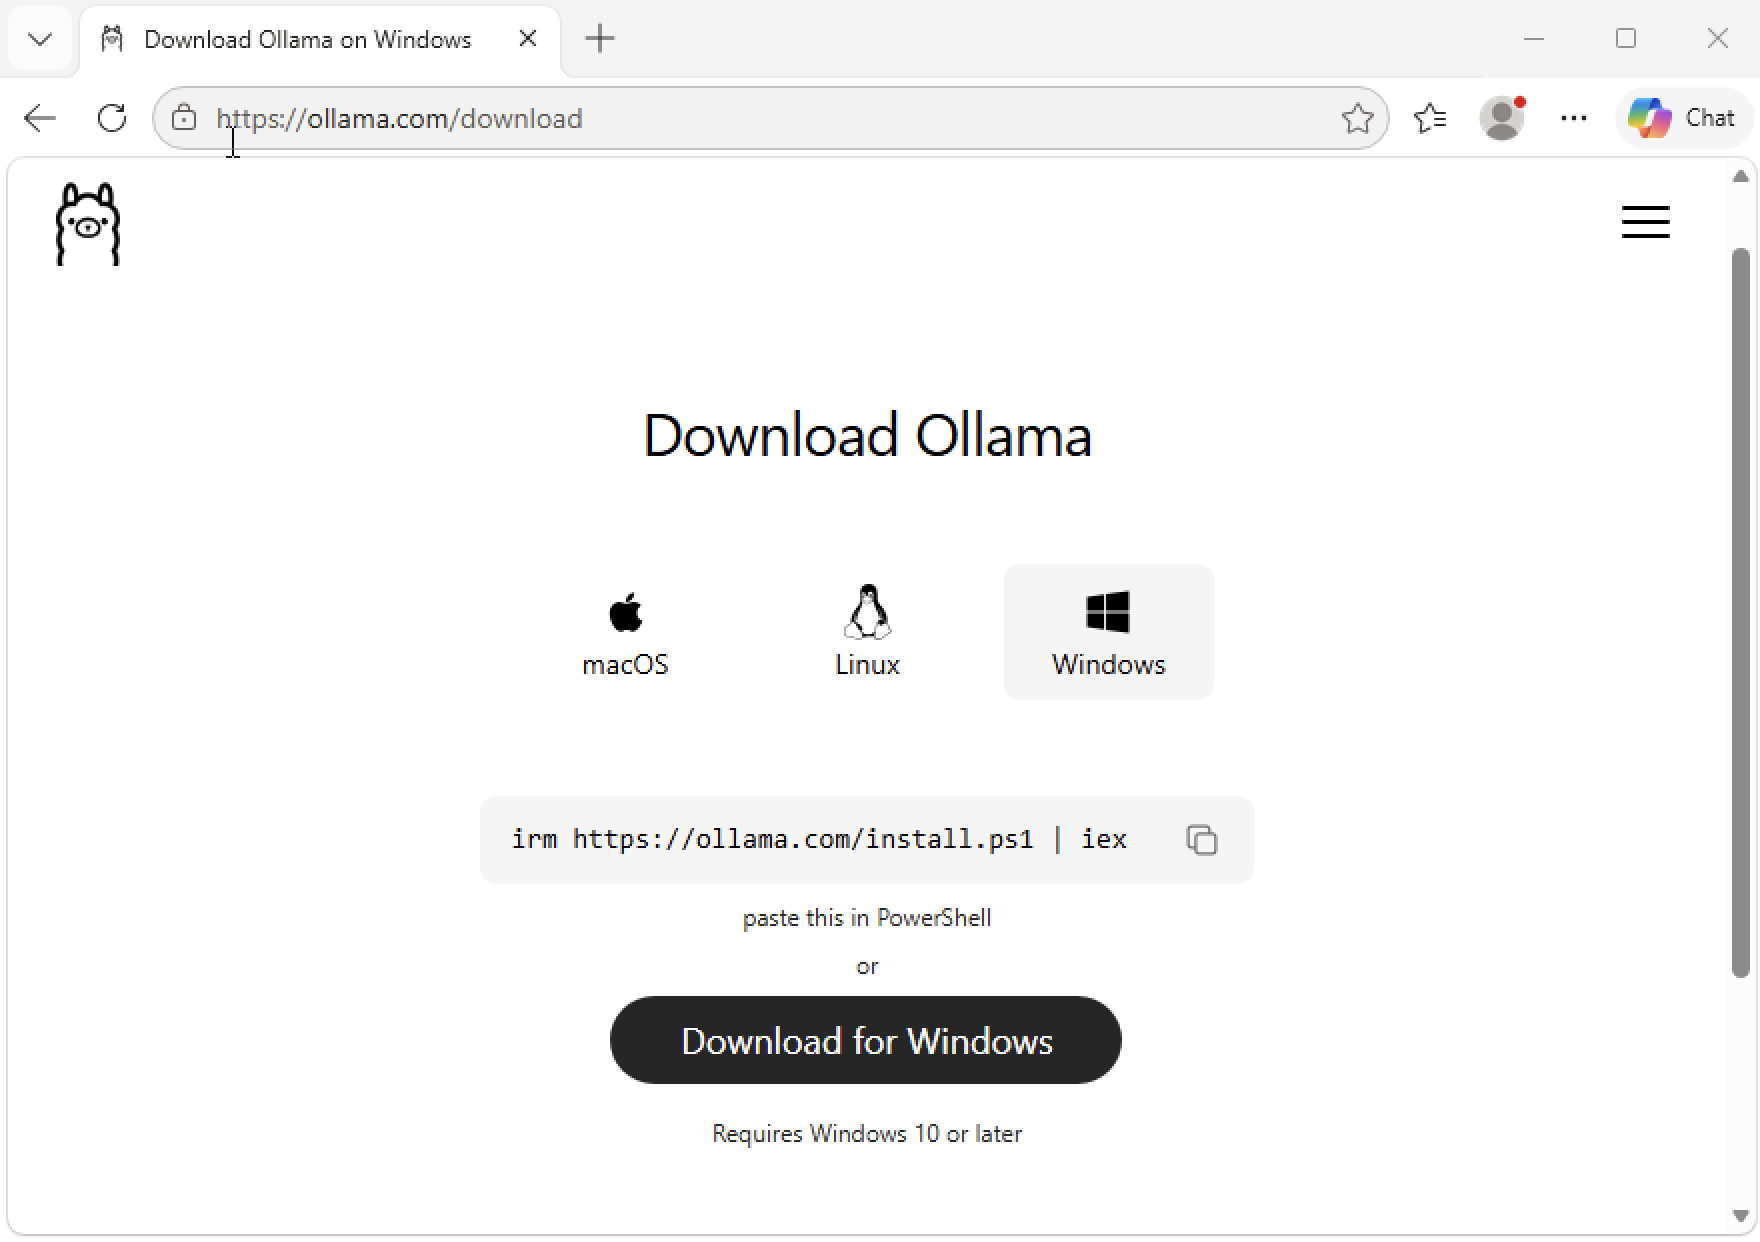
Download the Windows installer from https://ollama.com/download/windows.
Run the installer and follow the prompts.
Launch Ollama from the Start menu.
Sign in with the Ollama account you created above (see Verify cloud-model access below).
Verify cloud-model access
Once the app/proxy is installed and running, sign in so that cloud models (those reachable from Ollama’s free tier) work end-to-end.
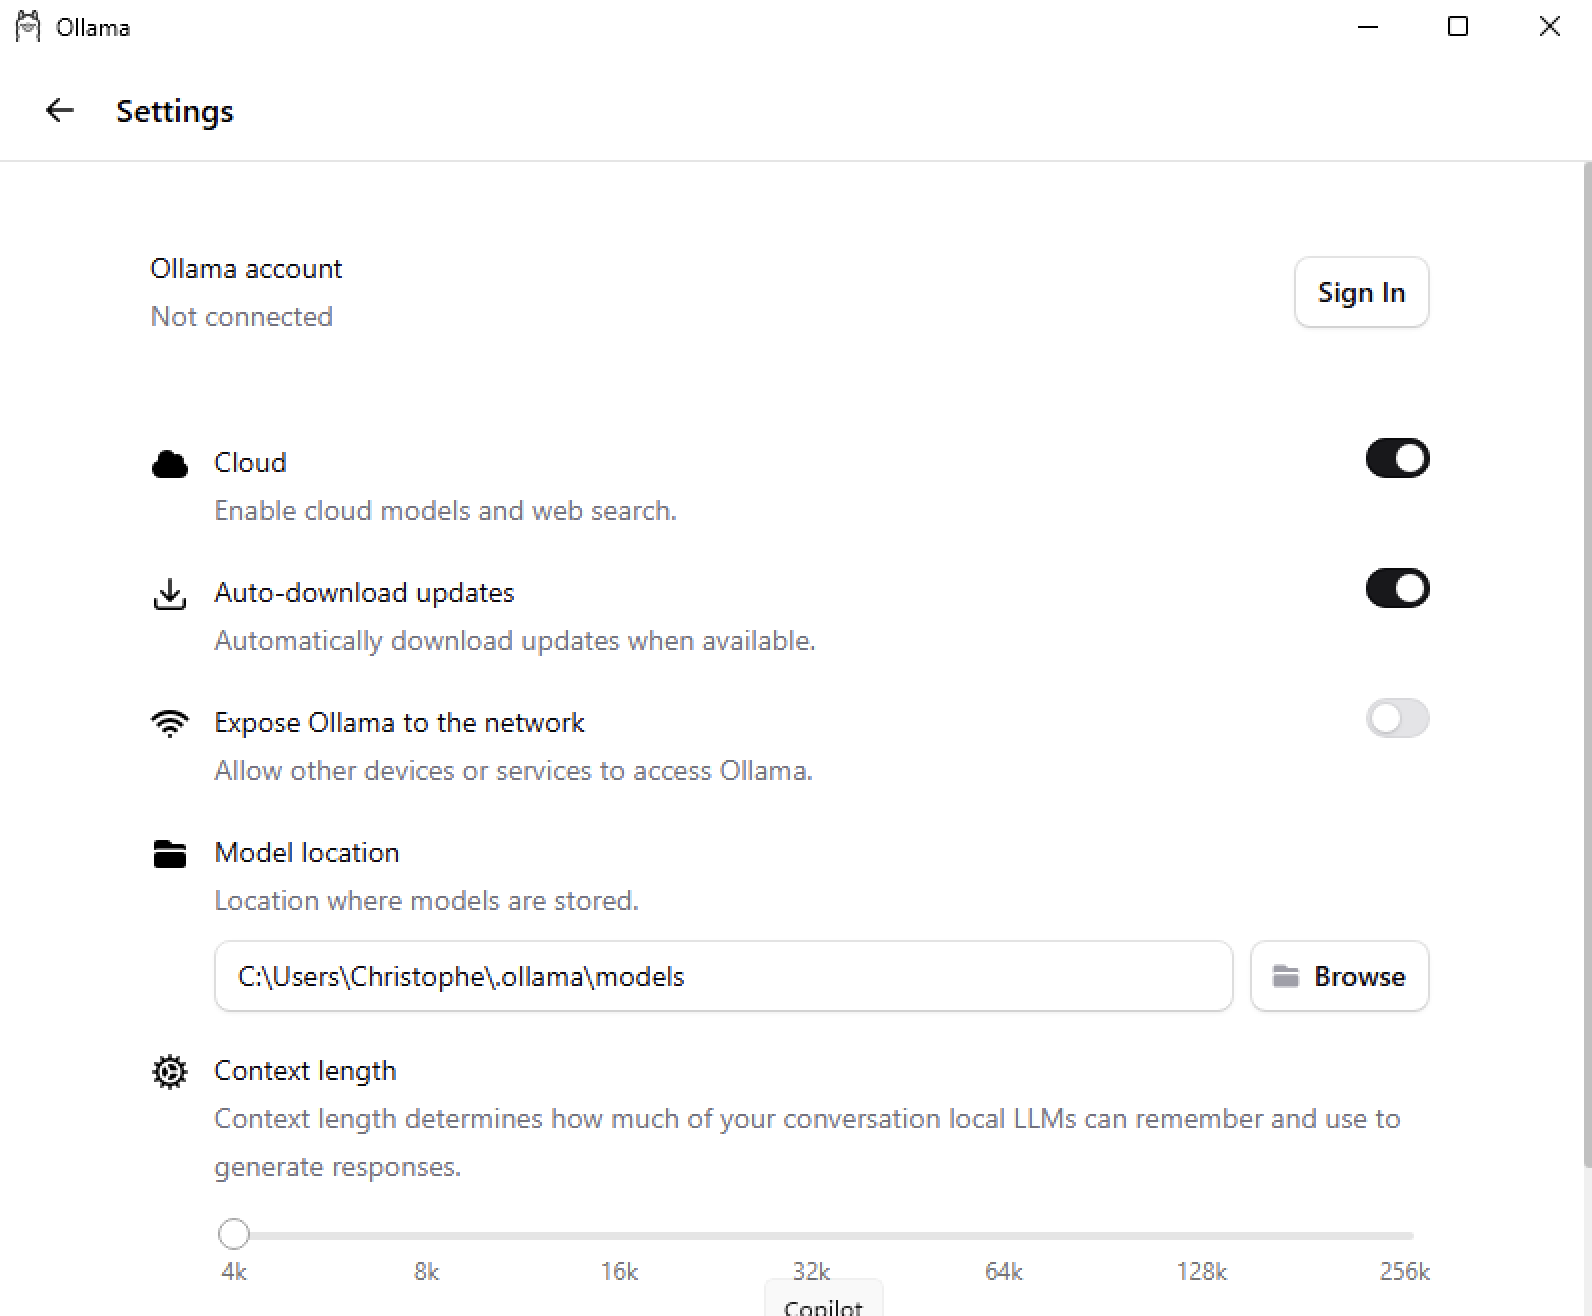
Open the Ollama app (menu-bar icon on macOS, system tray on Windows, or the
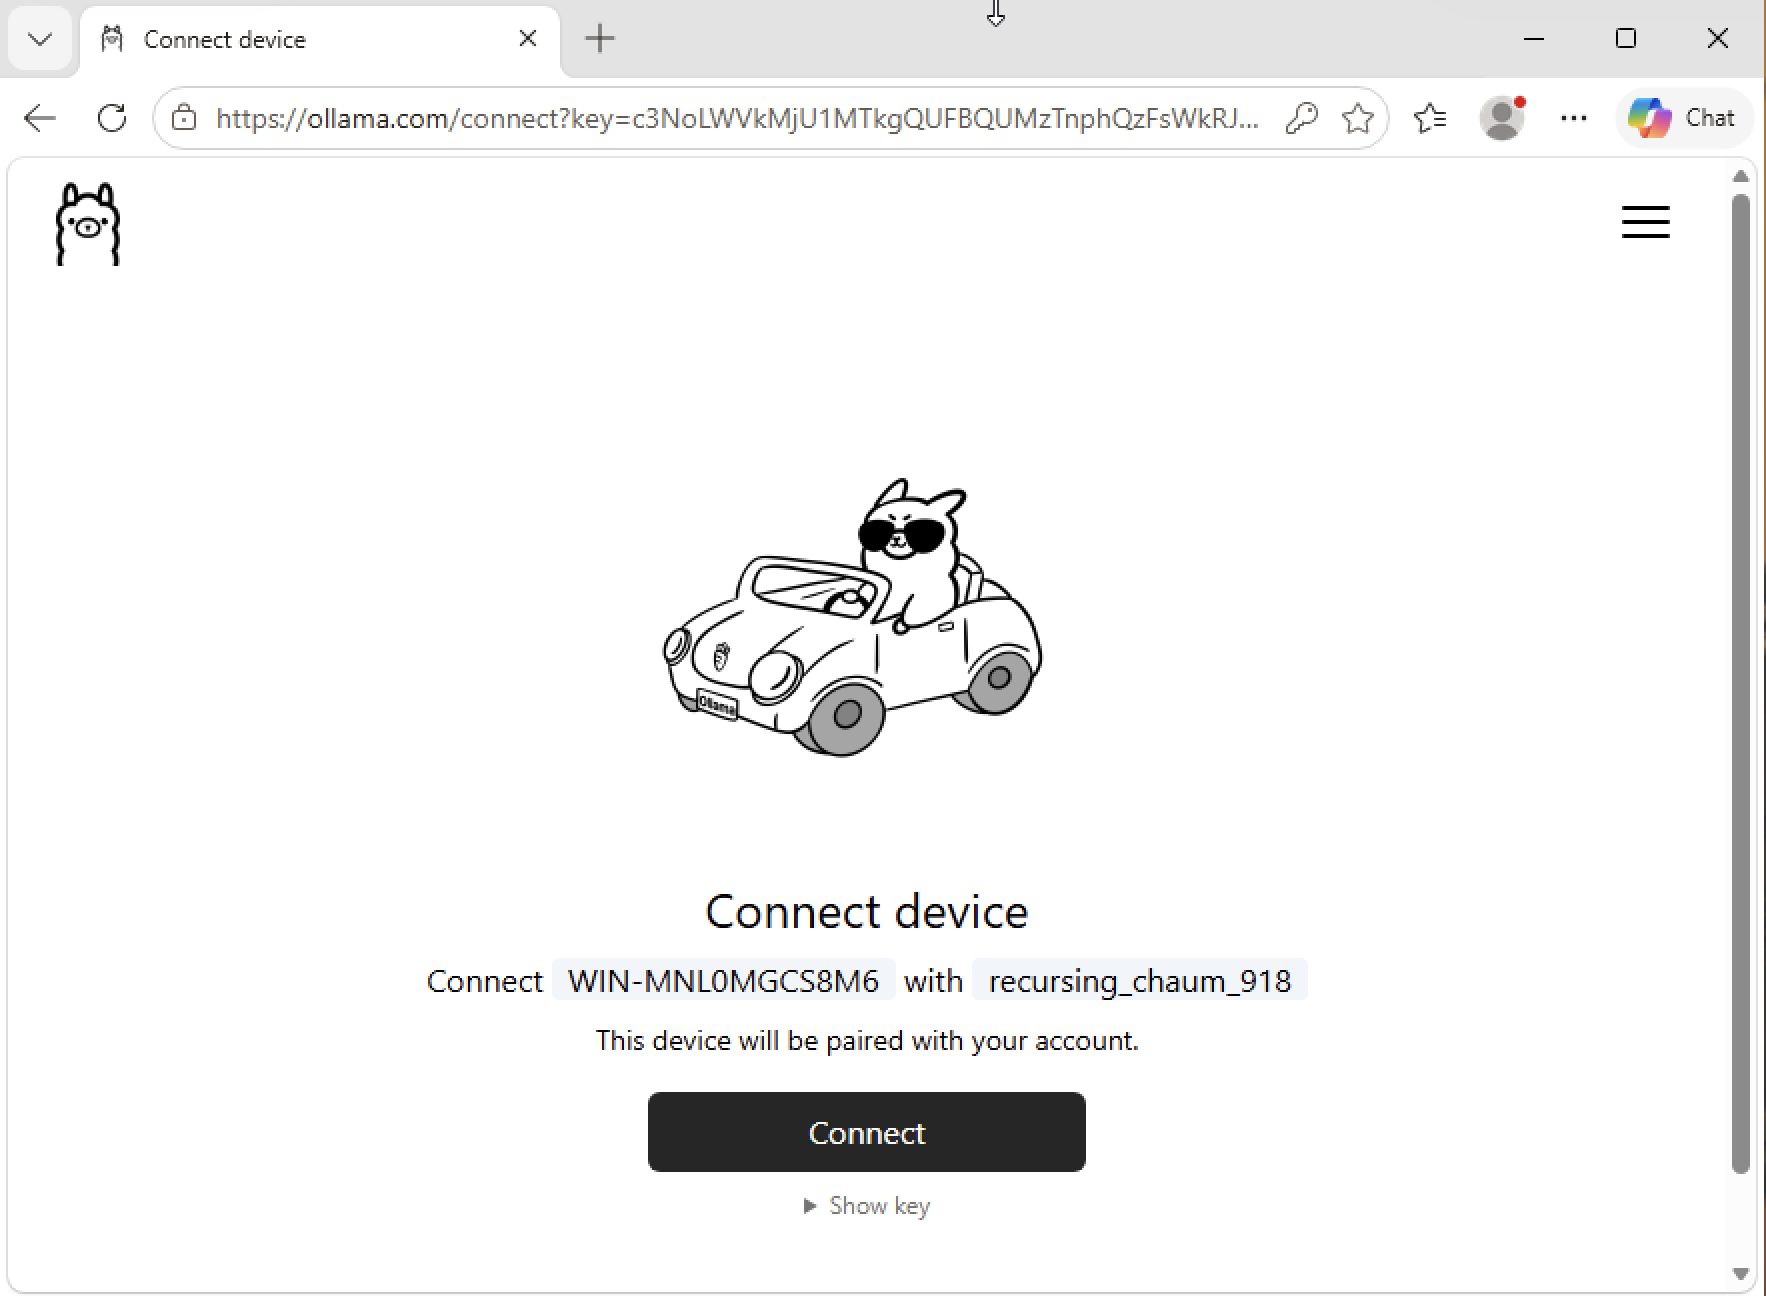
ollamaCLI on Linux).Choose Sign in (or Settings → Sign in).
Enter the credentials for the account you created in Create an Ollama account.
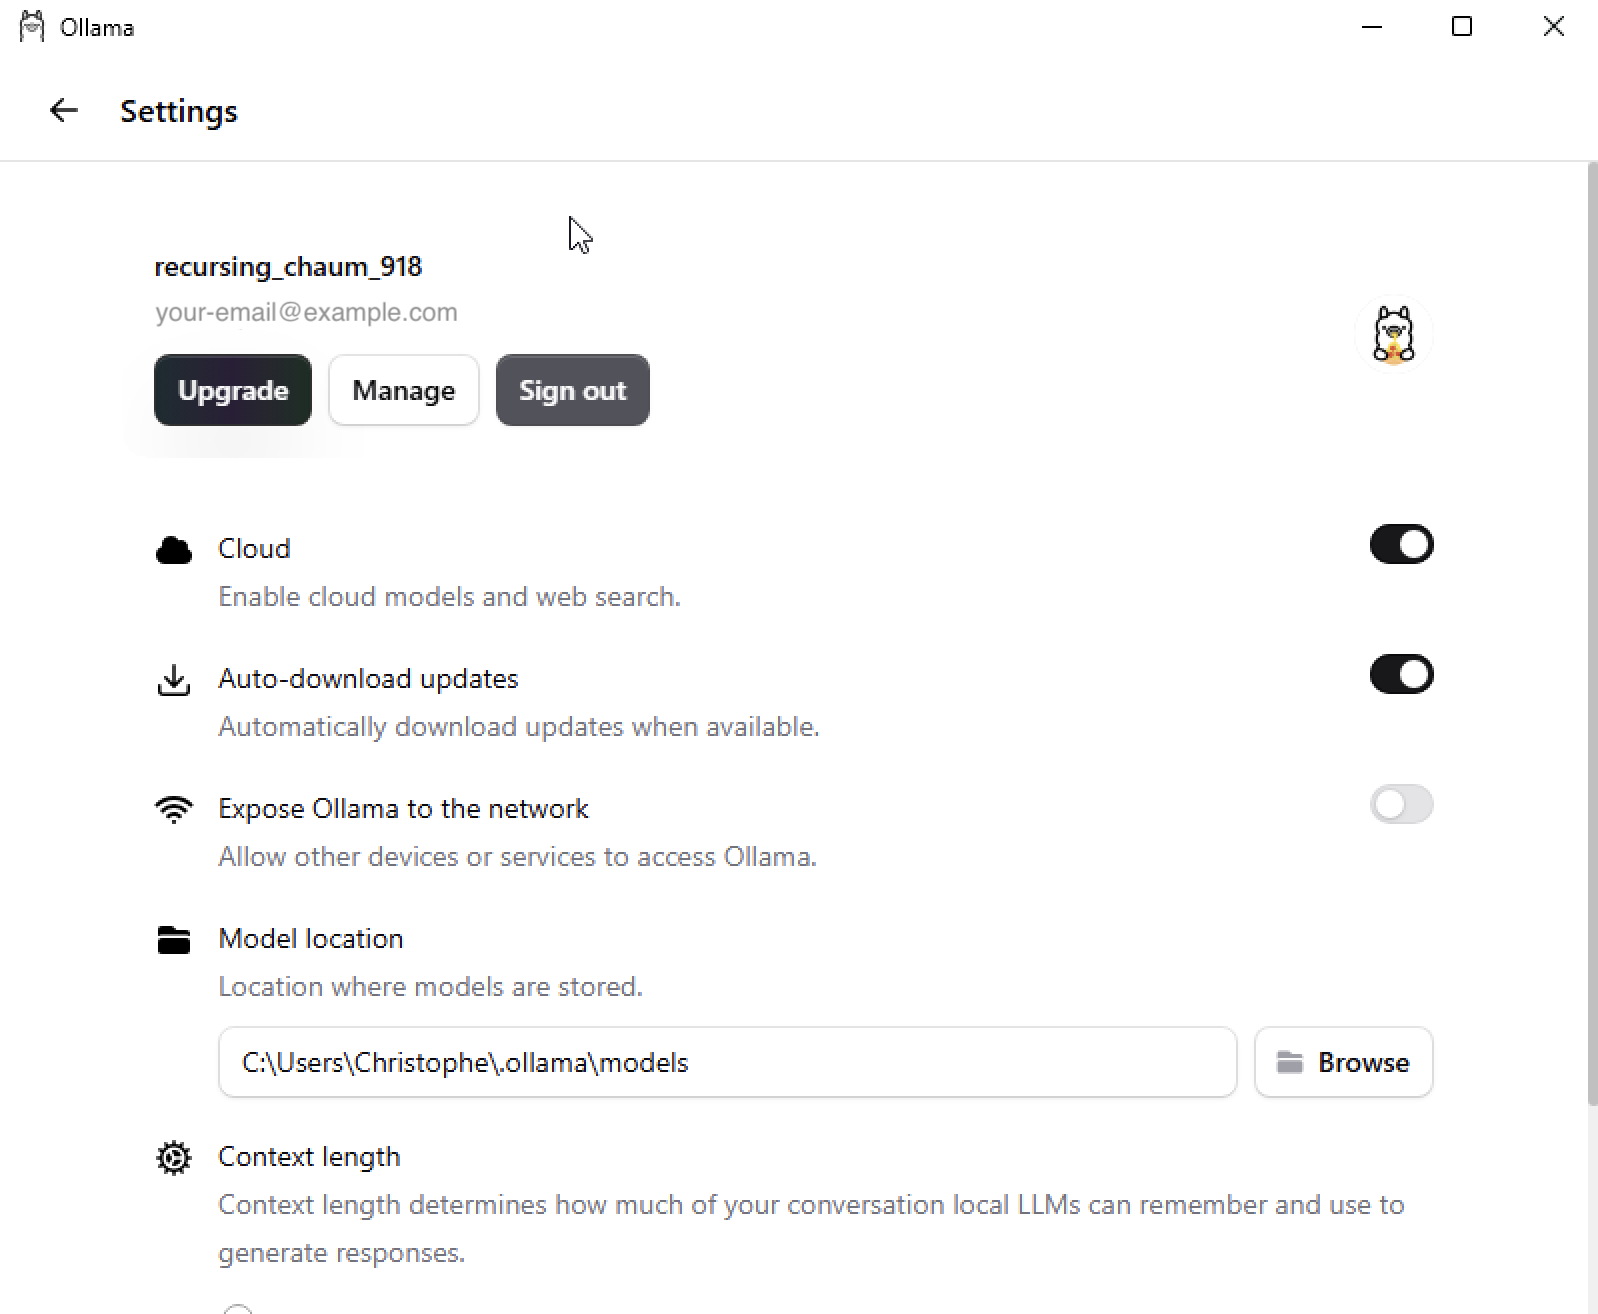
After a successful sign-in, the app shows your account email and a “Signed in” status.
To confirm cloud models are reachable, pull a small model and run it:
ollama pull gemma3:1b
ollama run gemma3:1b "Say hello in one sentence."
If a response comes back, the local app is working and your account is signed in. You can now connect yoker via the app (no key needed) — choose option 1 in the bootstrap wizard’s connection step.
If you’d rather use an API key instead of the local app, continue to the next section.
Generate an Ollama API key
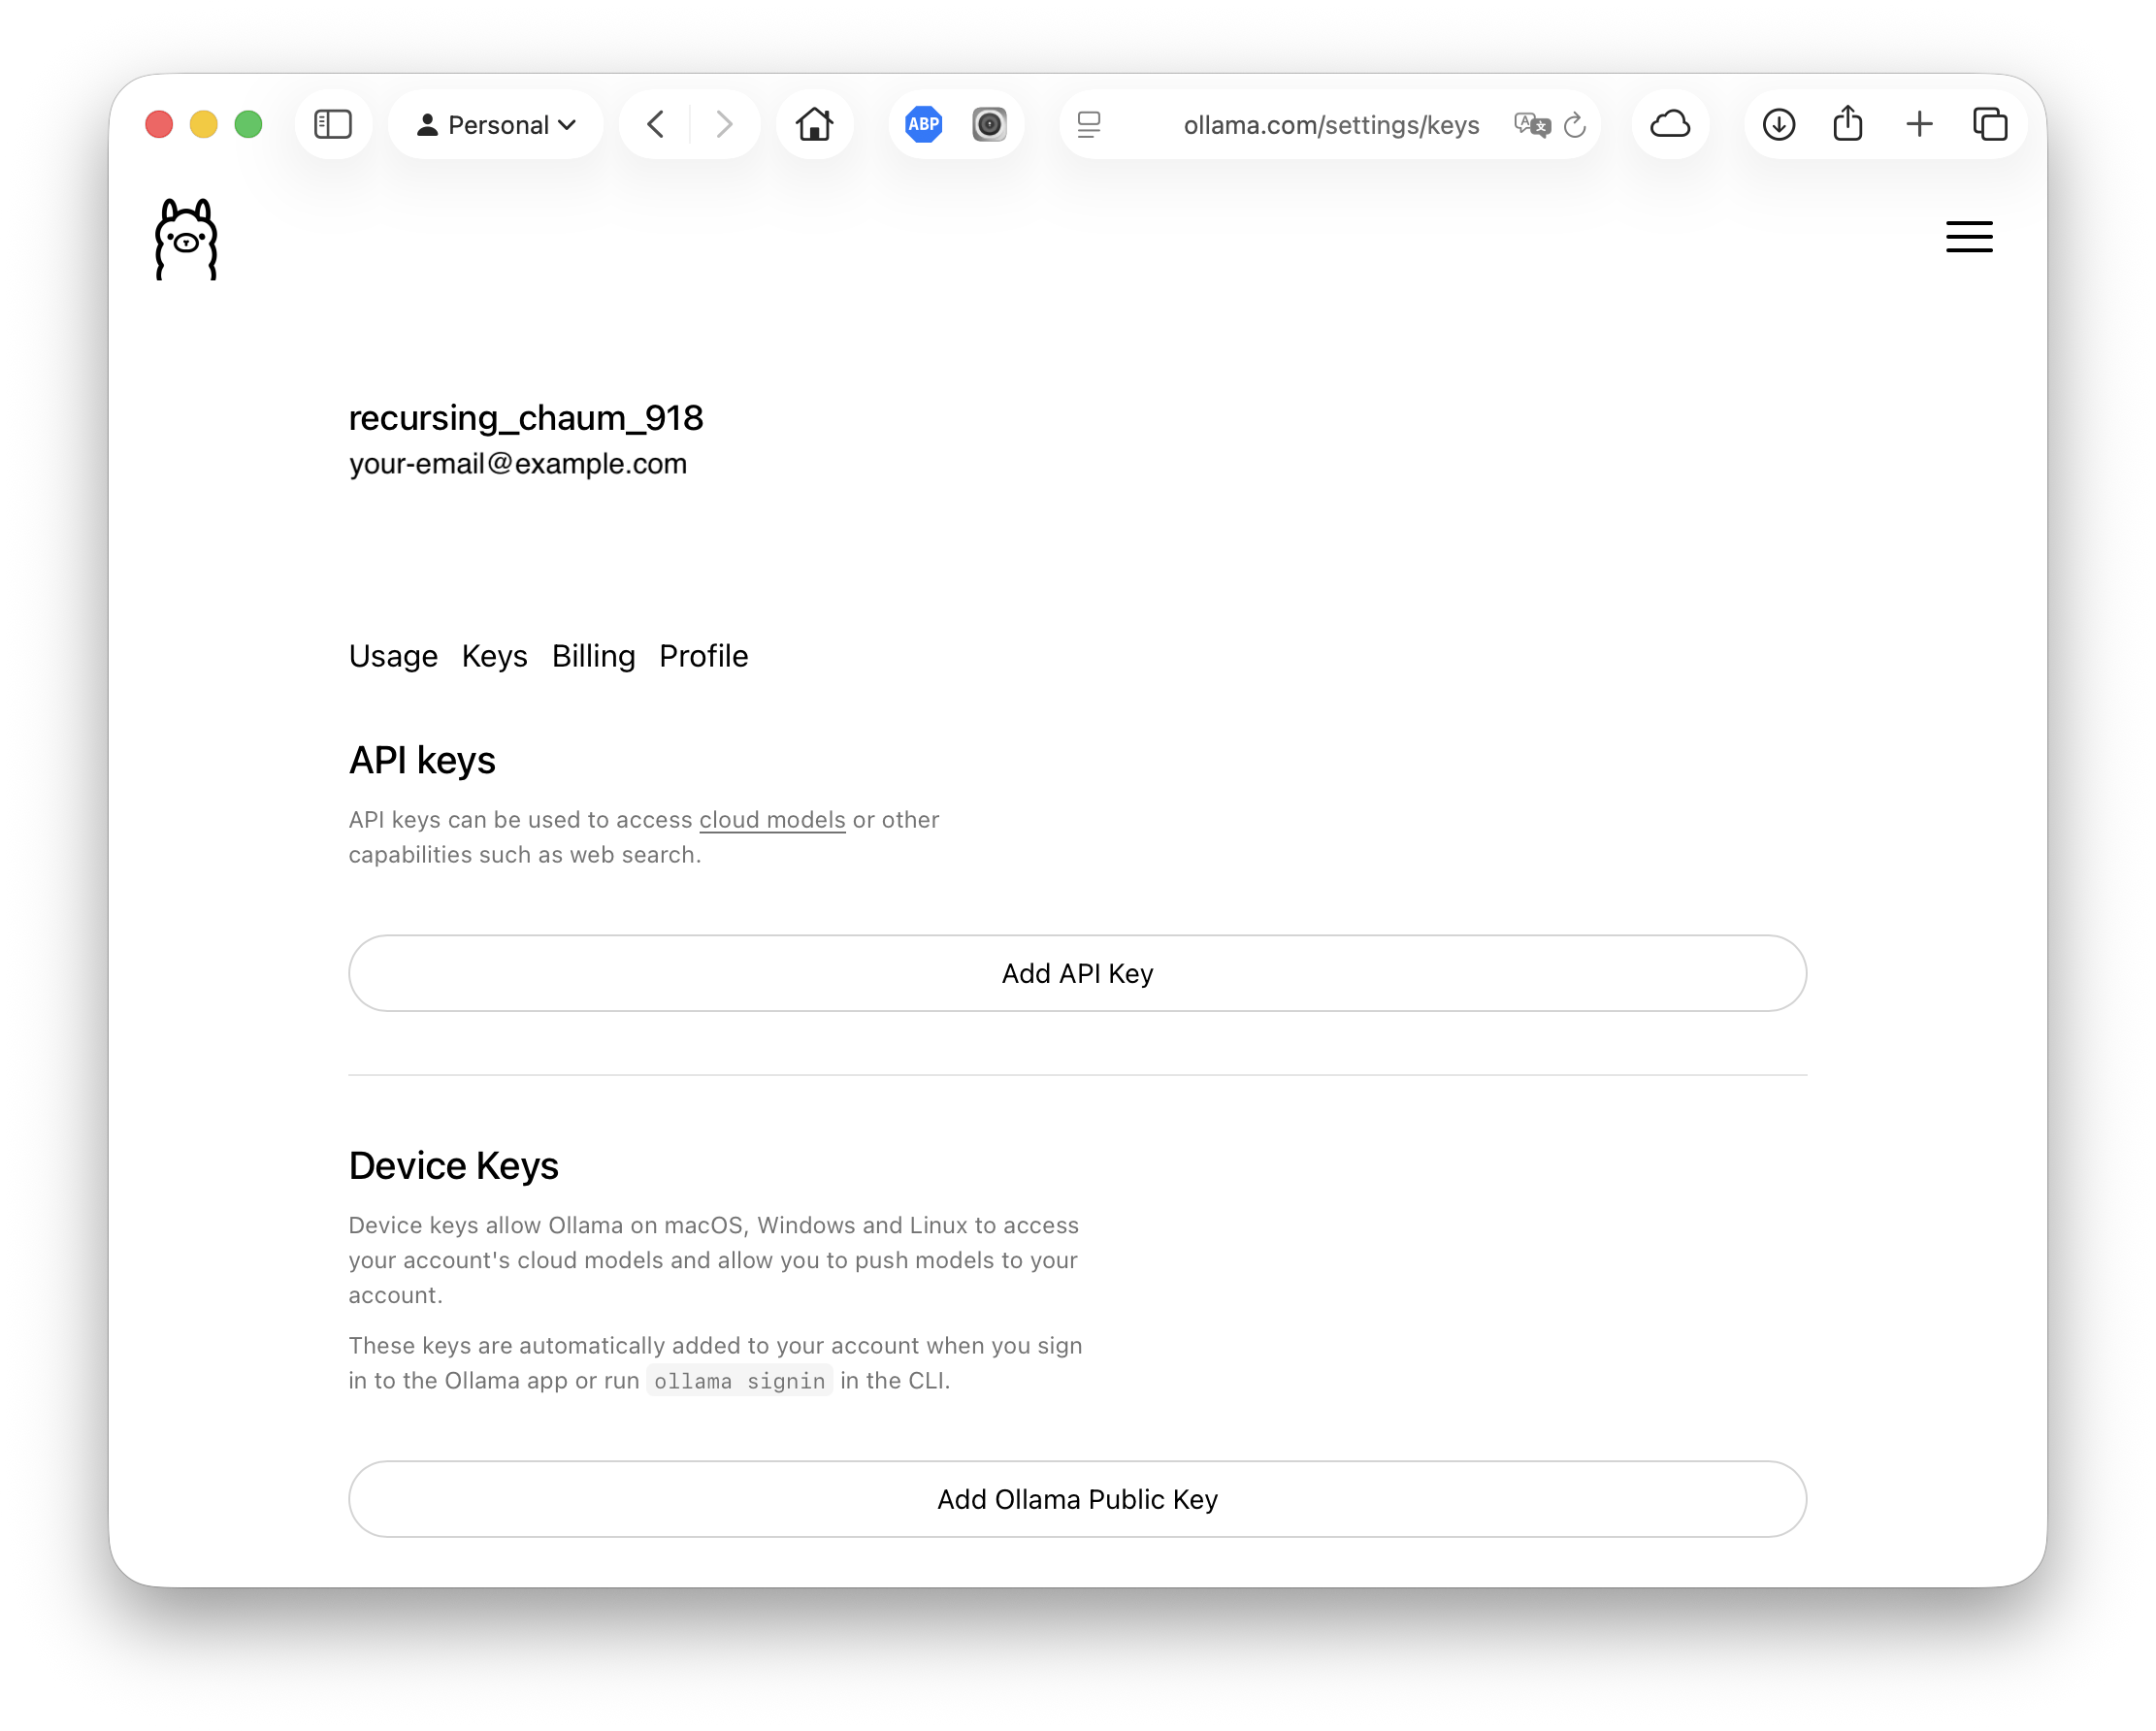
If you prefer to connect yoker to Ollama’s cloud-hosted models without running the local app, generate an API key from your account.
Sign in to https://ollama.com with your account.
Open your account settings — click your avatar (top right) and choose Settings (or API Keys, depending on the current layout).
Navigate to the API Keys section.
Click Create new key (or New API key).
Give the key a name, e.g.
yoker.Copy the generated key immediately — it is shown only once.
Treat the key like a password: store it in a secret manager, never commit it to source control, and rotate it if it leaks.
Paste the key into the yoker bootstrap wizard when it prompts for it (Step 4, option 2), or set it in your config:
[backend.ollama]
api_key = "ollama-..."
Next steps
Return to the yoker bootstrap wizard and continue past the connection step.
Pick a model from the curated list (Step 5), or accept the default.
For an overview of yoker, see the quickstart.